Learn How To Draw A River Quickly & Easily!
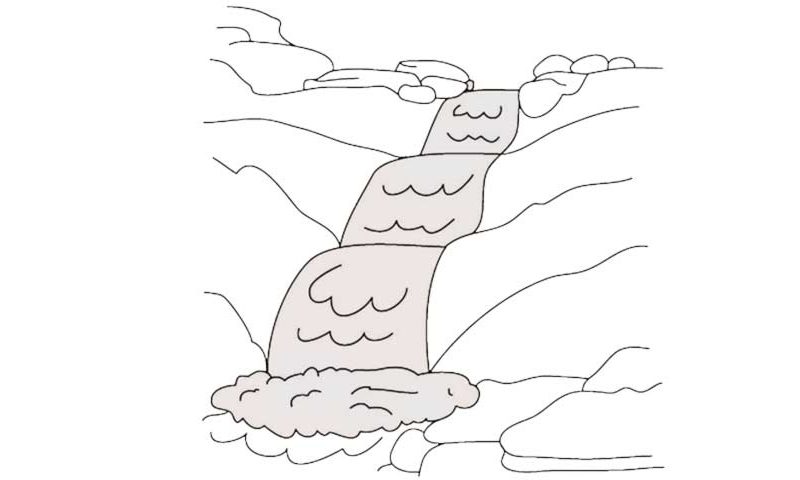
Let’s begin with the “cloud” at the very bottom of this drawing (00 min 05 sec). Next, you’ve got some rocks all over the planes and some lines for the landscape – add those (00 min 10 sec). That’s the intro to our how to draw a River tutorial. Basically, that’s all we’ll be doing in the video: drawing some rocks and curvy lines to create the “background” for our river.
There are five levels to this, and if you keep that in mind, the tutorial will be much easier to complete. So, follow my example closely and try to keep up :). Or, you can go your own way: it doesn’t matter as long as you get everything right. Once you add all of the levels using simple lines here and there, the river will be the next thing to take care of (00 min 16 sec). It looks a bit like puff pastry, doesn’t it (00 min 20 sec)?
I recommend starting this part of the how to draw a River tutorial from the bottom and making your way up. For the left side, you’ll need to put pretty much the same curves on top of each other (three in total); same goes for the left one (00 min 27 sec). If you’re happy with the result, go ahead and draw the waves for every level of the river (00 min 35 sec).
Before you learn how to draw A River, did you know?
It’s safe to say that without rivers, we, the humans, would’ve never been able to survive for this long. They gave life to the crops, helped us get from one place to another, and protected our villages and settlements from the predators that wanted to eat us alive.
These days, rivers still play a strategic role in any country’s life. True, we don’t depend on them the same way we used to, but it doesn’t mean they aren’t an essential part of the infrastructure. So, protect the rivers and praise Mother Nature for granting us such a gift!
