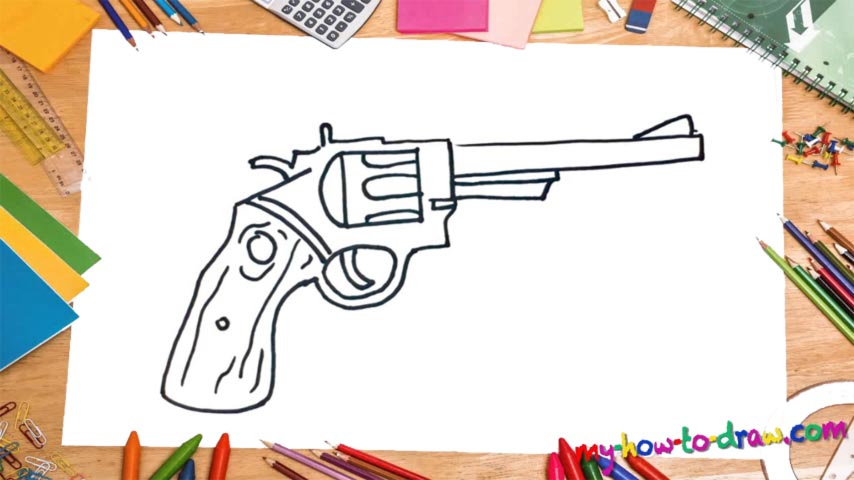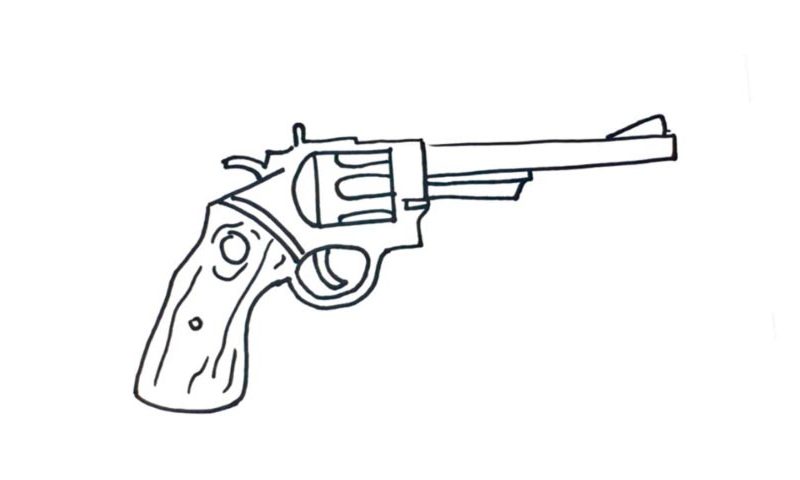
Learn How To Draw A Revolver Quickly
The front part of the gun is simple (00 min 07 sec). You’ll need two parallel lines and a triangle-like thing on top for the scope. Plus, we’ve got two simple shapes in the bottom left corner (00 min 20 sec). Ok, that was the intro to this how to draw a Revolver tutorial. Now it’s time for us to move to the left and take care of the rest.
Follow my guide and be accurate with the lines (00 min 35 sec). The chamber is a very basic shape and you can see the bullets inside – three in total (00 min 50 sec). The “safety” sits in the upper left corner of the revolver (01 min 17 sec). You’ll need two tiny curves for it. The handle consists of several straight and curvy lines. It’s important to get the proportions right here.
The trigger is the final step in this how to draw a Revolver tutorial (01 min 30 sec). You’ll need a half-circle, an oval and a shape that looks like a reversed “safety” to complete this stage. And before you say goodbye, go ahead and separate the wooden handle from the metallic gun (01 min 45 sec).
Before you learn how to draw A Revolver, did you know?
This handgun comes with a cylinder with one or more chambers that hold the deadly bullets. The greatest thing about this weapon is that it allows the owner to fire up to six rounds without having to reload the gun after every single shot. In an open confrontation, this feature can (and usually does) save your life.
Even though we’ve got more advanced pistols these days that come with more rounds and an overall more advanced frame and structure, many fans of weapons around the world still prefer to use the revolver. For example, the security guards in the US appreciate the reliability, durability, and ease of use that these guns provide.