Learn How To Draw A Penguin Quickly & Easily!
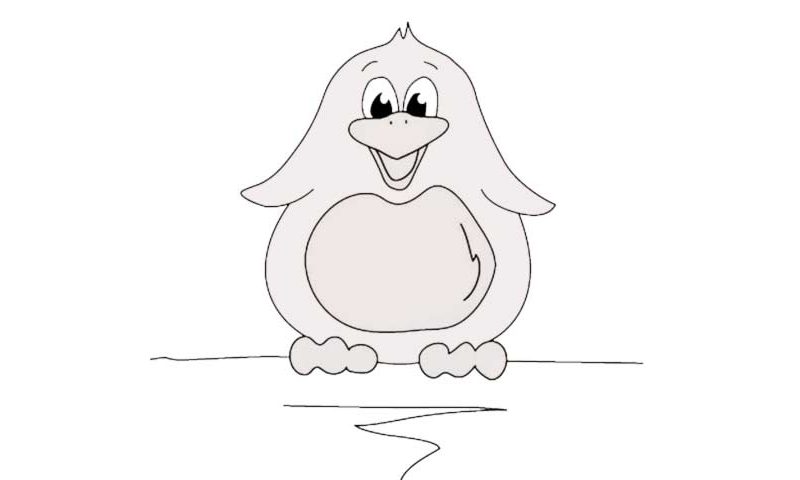
The beak comes first (00 min 04 sec). Next, use two identical curves of different size for the mouth (00 min 08 sec). The eyes – one of the most important parts of this how to draw a Penguin tutorial – sit right on top of the beak (00 min 12 sec). Alright, now we get to the hero’s head. Start with the top that looks like an onion and make your way down (00 min 16 sec).
You’ll need two identical lines for the hands and the head (00 min 20 sec). The penguin looks like a bell or the top of a Chinese building right now, doesn’t it? The feet look like dog’s bone from your favorite cartoon (00 min 25 sec). They sit at the bottom and we should use two curvy C-like lines to connect them to the hands and thus complete the body. Make sure the lines are bent enough to form a nice image for our guy.
And now we get to the final stage of this how to draw a Penguin tutorial. To make the belly look more realistic, create a simple shape like you see in my example (00 min 30 sec). The pupils look great and are all-black with some tiny white dots in the top right corner (00 min 42 sec). The last steps in this video guide are the line on which the penguin sits and the zigzag-like curve at the very bottom of the paper.
Before you learn how to draw A Penguin, did you know?
It’s no secret that life in the Arctic is harsh and brutal – not many species can survive out there. But the penguins have been living there for many centuries, giving birth to their kiddos and evolving at a rapid speed over the course of time.
Even though they look funny and cute, these guys are real warriors and are used to dealing with difficulties on every step of the way. To survive the cold weather, they stick together and move slowly, but steadily to find shelter and protect the little ones.
