Learn How to draw A Love Heart Quickly & Easily!
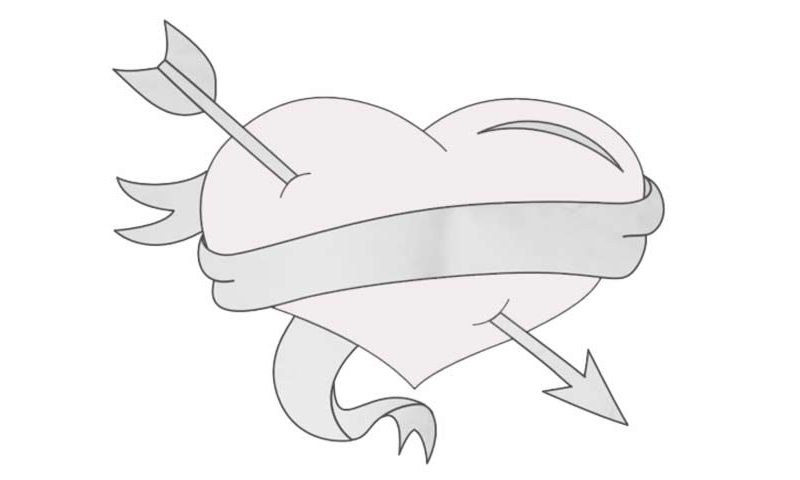
This is a relatively simple drawing; yet, it’s not always easy to create just the right perspective and 3D image, which is why we decided to teach you how to draw a Love Heart. Before we get to the heart, let’s put in the ribbon that’s squeezing on it (00 min 27 sec). It looks like one of those ancient scrolls that our ancestors used. The arrow comes next (00 min 48 sec).
Start with its foundation in the top left corner. You’ll need two straight lines and two curvy ones to shape that exquisite handle. Put a tiny curve right where it enters the heart and jump to the bottom right corner (01 min 14 sec). Add a curve just like the one you drew a second ago (again, for the heart) and take care of the tip. And now that you’re all done with the arrow, it’s time to move on to the next stage of this how to draw a Love Heart tutorial.
The heart itself is actually pretty easy; yet, you might need a couple of tries before you nail it. The key is to keep the proportions right (01 min 27 sec). Don’t make it too wide or too narrow – find the golden middle. Finally, finish the ribbon by creating two simple shapes right below the arrow and in the bottom of the drawing (01 min 49 sec). That way, your composition will become a lot more realistic.
Before you learn how to draw A Love Heart, did you know?
This…heart-wrenching image of a spear poking through someone’s heart is truly iconic and has been around for ages. The artists from the ancient times used this concept to speak about love, the pain that follows, and the misfortunes that can bring people down.
And what about that ribbon all over the heart? Is it meant to protect love and cherish it, or is it there to choke it? People are still arguing about that, and there are no right or wrong answers. When it feels like your heart is breaking, think of this picture – it might help!