Learn How To Draw A Little Bunny Quickly
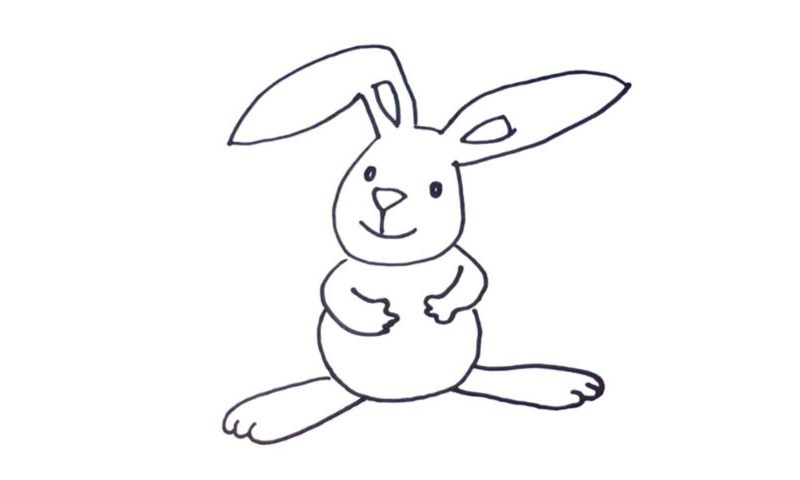
The shape of the face is very round, especially at the bottom (00 min 07 sec). You’ll need one smooth curve for it. The huge ears follow in this how to draw a Little Bunny tutorial (00 min 14 sec). They’re not identical to each other, but both shapes are very basic – nothing hard for us at this stage. Still, they are an important part; so, be careful.
The facial features are the next step (00 min 34 sec). You’ve got two tiny eyes, a nose that looks like a potato and two simple lines to shape the mouth. Move on to the hands if you’re happy with everything here (00 min 47 sec). Start with the right one. They’re both very primitive, which means you don’t have to be accurate with those lines.
After they’re in place, add a curvy line at the bottom to form the belly (00 min 57 sec). The legs are the final stage in this how to draw a Little Bunny lesson (01 min 07 sec). They are pretty large and should match the ears in length. Plus, both feet come with three fingers. Once you put them where they belong, this tutorial will be officially completed.
Before you learn how to draw A Little Bunny, did you know?
Even though the majority of the world’s population never sees a bunny in real life, that doesn’t mean they don’t love them. Thanks to the fairy tales and cartoons from our childhood days, these creatures have a very special place in our hearts, among other brutes.
By the way, a male rabbit is known as a buck, while, say, the ladies are called does. Tiny, weak, and without any strong muscles, they are forced to hide in the shadows all the time and build their homes in places where the predators can’t reach. At the same time, bunnies are faster than most animals and super-flexible.
