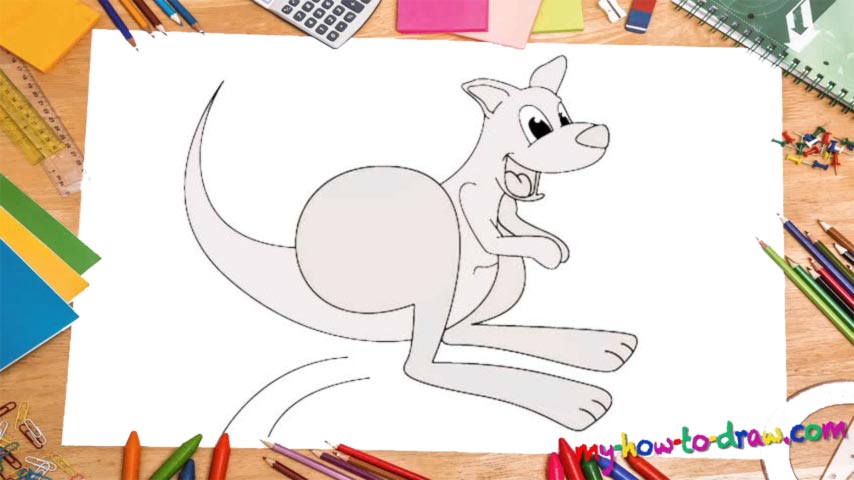
Learn How To Draw A Kangaroo Quickly & Easily
The nose is the first priority in this tutorial (00 min 05 sec). Once it’s in place, you can move on and add the eyes – the next step in this how to draw a Kangaroo video guide (00 min 12 sec). See those cute ears? Make sure you keep the proportions right; otherwise, you’ll mess up the drawing right from the start (00 min 22 sec).
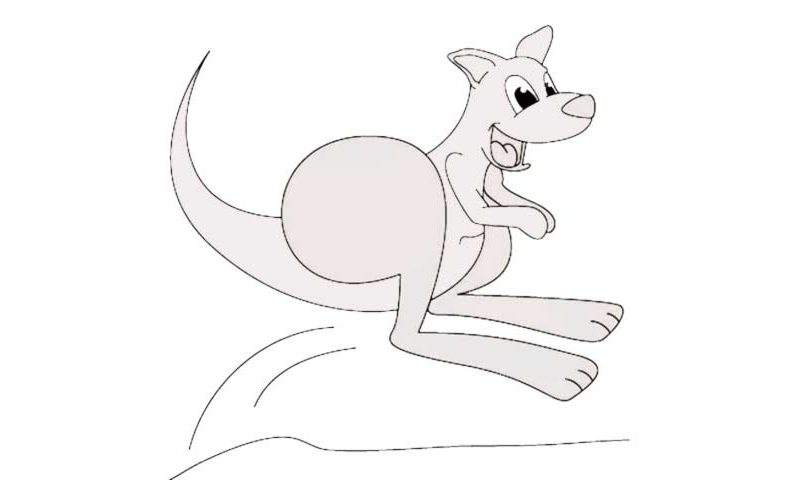
If everything’s looking good, use a curvy line at the bottom of the nose to complete the head (00 min 38 sec). The mouth and the lower jaw follow quickly. Ok, now it’s time to get to the body (00 min 55 sec). You’ll need a huge curve that looks like the number “9” that’s almost twice as big as the head. Yes, this is going to be the kangaroo’s leg. Follow my example and put it exactly where it belongs.
The next step in this how to draw a Kangaroo tutorial is the massive tail (01 min 04 sec). First of all, connect the head to the leg; next, use two super-smooth and curvy lines for the tail that looks like a half-moon. The tiny hands will be a piece of cake (01 min 12 sec). As for the second leg, it’s exactly the same as the one we took care earlier (01 min 30 sec). They look a bit like flippers, don’t they? The last thing to take care of is that tongue (01 min 44 sec).
Before you learn how to draw A Kangaroo, did you know?
We’ve all seen these magnificent creatures on the other side of the screen, but only a select few were lucky enough to interact with them in real life. They live in Australia, and, by 2011, there were 34+ million kangaroos on the island. So, if you’re from there, kudos to you!
By the way, they are members of a larger group of species, where the so-called “wallabies” are the tiniest ones. As for the kangaroos, they are the biggest and reach 2 meters in length and 85-90kg in weight. Plus, they have big, strong tails that help them keep the balance in motion.