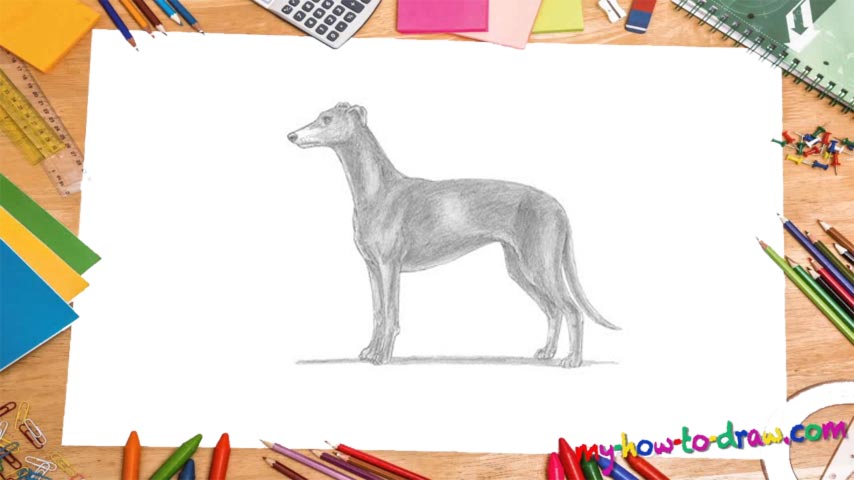
Learn How To Draw A Greyhound Dog Quickly & Easily
This lesson is all about straight lines and round curves, and in order to keep the proportions right, we should start by adding three circles first (00 min 07 sec). The biggest one sits in the middle and serves as a guide for the body. The one on the right is also for the body and the rear legs.
The tiny circle in the upper left corner, in turn, is for the animal’s head (00 min 12 sec). For the mouth and the ears, use two simple shapes as you see in the video (00 min 17 sec). The legs follow. Before moving to hard strokes, connect the circles to each other to shape the dog.
Alright, now we can complete the how to draw A Greyhound Dog tutorial. The eye sits in the upper right corner of the head (00 min 34 sec). The nose is a small circle with a V-like line inside (00 min 41 sec). Make sure the legs are bigger and stronger than the guides but are the same in shape (01 min 04 sec).
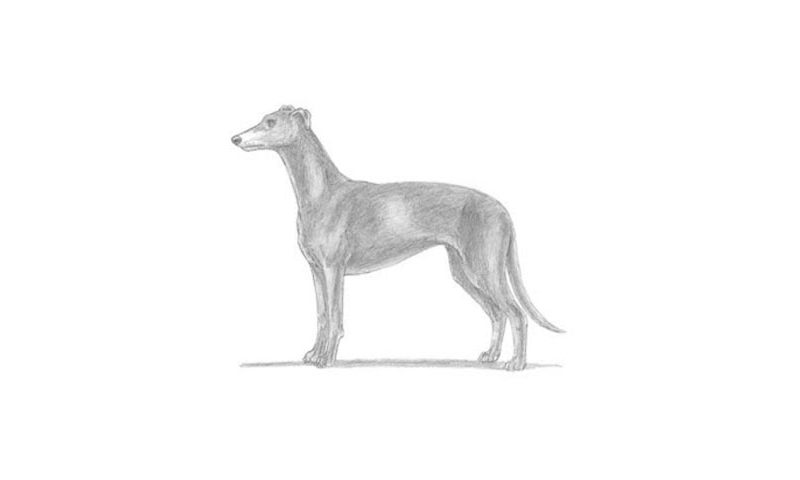
To complete the how to draw A Greyhound Dog video-guide, just go over the guiding lines with hard strokes before erasing them – that’s it (01 min 35 sec).
Before you learn how to draw A Greyhound Dog, did you know?
Back in the day, humans used the greyhounds for two purposes: racing and hunting. These days, they are more popular as pets. This breed is very tall, slim, fast, and agile. Plus, it’s quite intelligent and is considered to be one of the smartest dogs to live on the planet.
Those long legs are incredibly strong, and, thanks to the flexible spine bones and the overall slim build, these dogs can run as fast as 40 miles per hour, which is, indeed, very impressive. And, they are capable of keeping that speed for a very long time. That is exactly why they are among the best hunters out there.