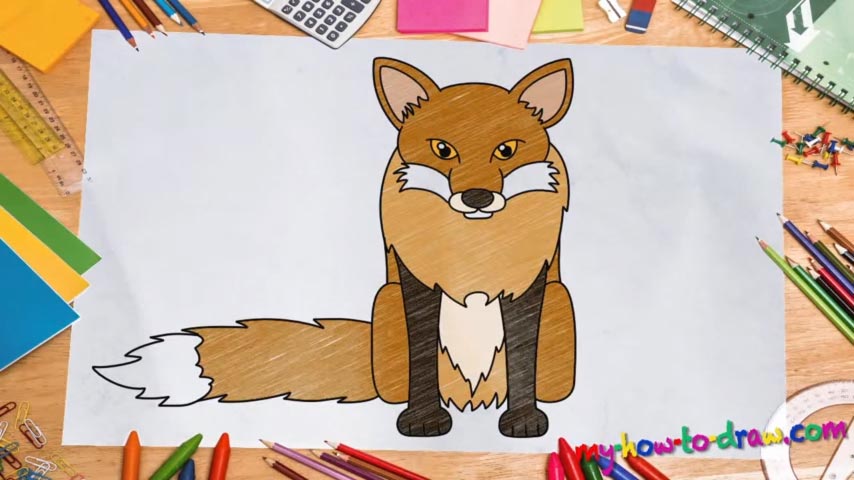
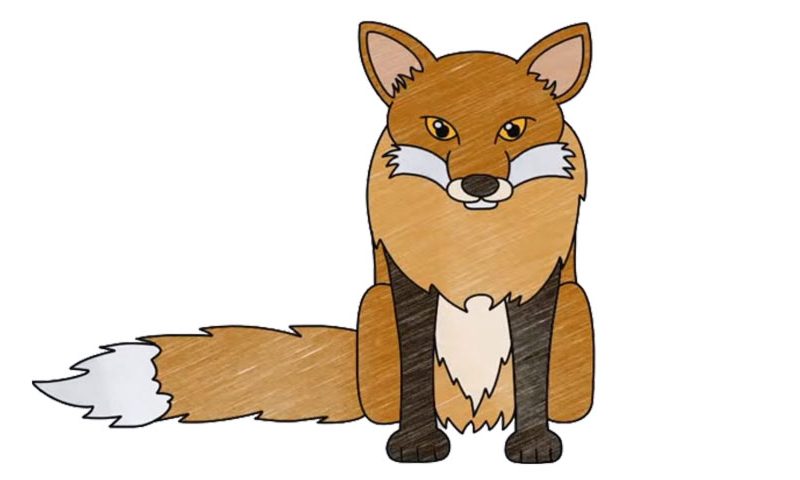
Learn How to draw A Fox Quickly & Easily
If you love animals and want to learn how to draw a fox, check out our video. As always, we must create some rough guidelines. Start with the circle at the very top (00 min 38 sec). This will be the foundation for our brute’s head. Next, draw a series of curvy and straight lines that will serve as pointers for the clean drawing.
That huge half-circle comes next (01 min 26 sec). Once you’re done with that, move on to the body, the legs, and the super-long tail (01 min 35 sec). These guides are pretty simple; finish with those and let’s begin with the how to draw a fox tutorial.
The cute little nose comes first (02 min 38 sec). The eyes are identical and should sit right on top of the upper curvy horizontal line we drew in the beginning (03 min 05 sec). After you connect the nose with the eyes, most of the face will be done (03 min 48 sec). The “mustache” gives it a nice look, doesn’t it? Just like the eyes, the ears look exactly the same (04 in 31 sec).
If you’re happy with those, use the guidelines to complete the head. Ok, now we’re down to the next stage of our fine how to draw a fox manual. The “beard” (I mean the body) is easy, but you should make the curves a bit “zigzaggy” for additional realism (05 min 27 sec). The legs are identical and are quite simple (05 min 52 sec).
Finally, use the guidelines to draw the tail and complete this how to draw a fox tutorial. Again, try not to go with smooth lines but rather with “cut” ones (07 min 09 sec).
Before you learn how to draw A Fox, did you know?
Foxes might not be as cute as the puppies, or as scary as the wolves, but they certainly do have a certain kind of charm. They’re fast, smart, and have to adapt to the ever-changing world in order to stay alive. They’re usually the bad guys in the fairytales, but in this drawing, the fox looks very calm and kind.

