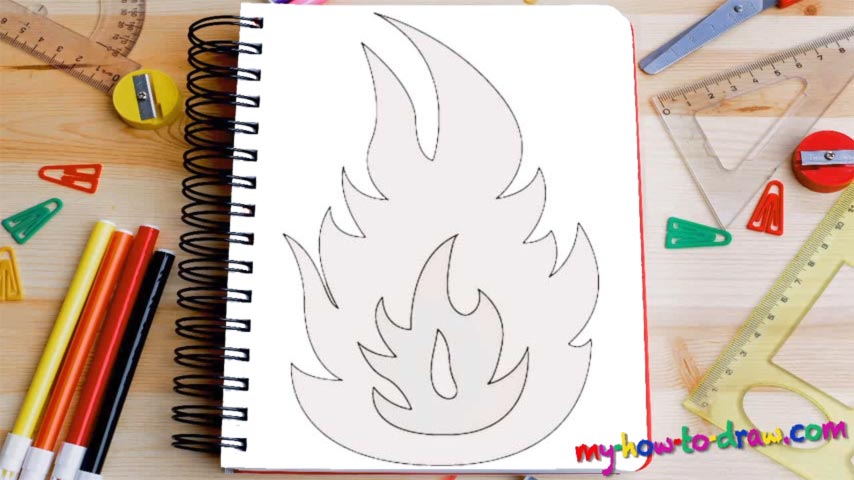
Learn How To Draw A Flame Quickly & Easily
If you think that this is one of the easiest video guides on our website, you’re right :). Plus, there’s a similar one that features a lit match. Still, if you’re just starting to master the art of drawing, we think this how to draw a flame tutorial will be of great help to you. As you’ve probably already noticed, the two flames are pretty much alike, especially in the first half. That is exactly why we’ll draw them simultaneously (00 min 05 sec).
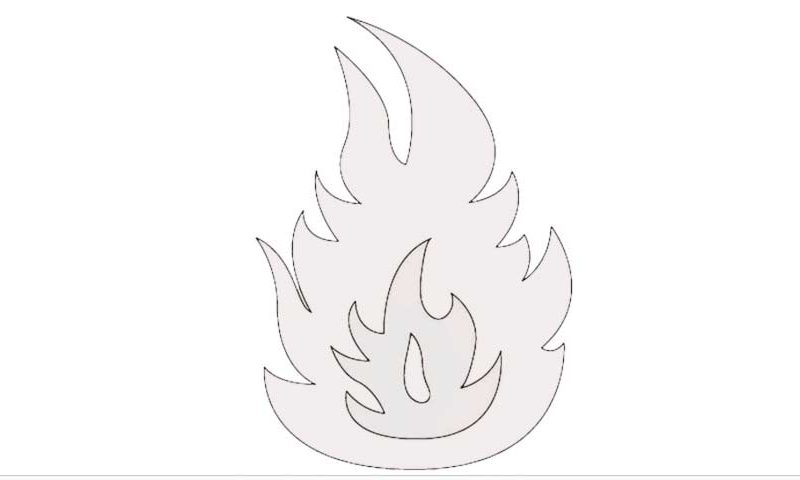
You’ll need two curvy lines of different size at the very bottom of the paper. Next, put the very first zigzags in to shape the foundation of the flames (00 min 08 sec). You don’t have to follow the video blindly; still, you’ll be better off copying my moves. Keep adding more and more edges until you reach the very top of both flames (00 min 18 sec). At this point, the composition looks a lot like a Christmas tree.
Don’t you worry – that’s what we’re going for in this how to draw a Flame tutorial. Keep in mind, though, that the tops of the flames are different. The tiny one comes with a sharp and edgy tip, while the big guy has not one, but two peaks (00 min 26 sec). Wait, we’re not done yet: add the tiny “drop” in the middle of the small flame before you go!
Before you learn how to draw A Flame, did you know?
It’s safe to say that when mankind learned how to control fire and the flames, we jumped to the top of the food chain on planet Earth. Without it, we were too weak to fight off the predators like lions, tigers, wolves, and such. But with the burning flames, we finally became unstoppable.
The vast majority of animals won’t attack you if you’ve got a torch in your hands. Furthermore, fire also brought us warmth and delicious, healthy meals. Raw meat can, and usually does cause all kinds of sicknesses, not to mention the harsh winters that killed our kind before we mastered fire.