Learn How To Draw A Female Teacher Quickly
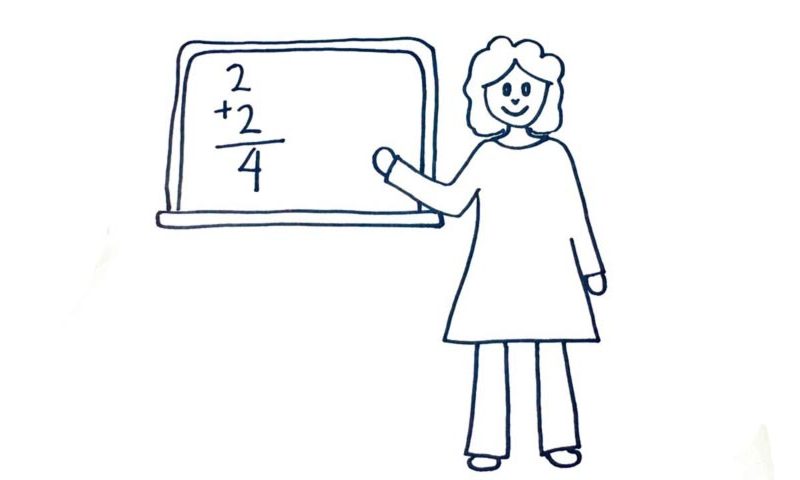
Let us begin with the lady’s head (00 min 14 sec). It’s located in the upper right corner. The hair should be nice and fluffy. The body, the next step of this how to draw a Female Teacher tutorial, is very simple, as there aren’t any sophisticated details like fingers, toes, or, say, any textures on the dress that she’s wearing.
The right arm comes first (00 min 34 sec). The left one is pointing at the board (00 min 44 sec). Use a combination of basic vertical and horizontal lines to complete the dress (00 min 52 sec). The legs sit at the very bottom of the paper and consist of primitive vertical lines. The “shoes” are two tiny circles, just like the “hands”.
The eyes are the next step in this how to draw a Female Teacher tutorial (01 min 09 sec). The board completes today’s lesson (01 min 18 sec). It’s just a big rectangle on the left side. The “2+2 equals 4” is the final thing to take care of.
Before you learn how to draw A Female Teacher, did you know?
Does that lady look like the teacher at your school? This is a pretty standard image of a woman standing in front of a board and trying to teach the kiddos that 2 plus 2 equals 4. Teachers, people that dedicate their lives to educating others – mostly children – are a very important part of the modern-day society. And, they’ve been around ever since the dawn of humanity.
Without the teachers to show the younger generations what’s right and what’s wrong, without them giving the boys and girls the necessary education, they simply won’t be able to grow into intelligent, capable young men and women. This is exactly why the international governments are spending billions of dollars on new teaching programs and making this profession as prestigious as they can.