Learn How To Draw A Desert Island Quickly
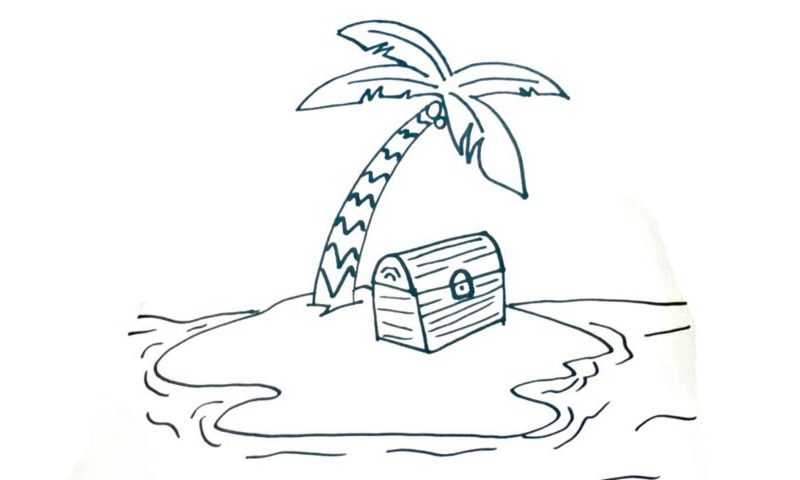
The palm tree is in the center of attention in this video guide (00 min 14 sec). It’s leaning over the treasure chest. Create two curvy vertical lines and add a series of “wavy” lines between them. Once that’s in place, move on to the next step in this how to draw A Desert Island tutorial – the leaves (00 min 44 sec). There are four in total.
The leaves are very similar to each other and look like a flower together. The chest I mentioned earlier comes next. It sits right next to the palm tree and will give the fans of RPG video games a nice chill (01 min 23 sec). Make sure it looks 3D and the lock connects the “lid” to the main part. To make it look old, add a series of simple lines all over (01 min 48 sec).
Ok, we are almost done with this how to draw A Desert Island tutorial. We still have to work on the water and the tiny piece of land in the middle of it. Use wavy curves for both (02 min 04 sec). If you want, make the island bigger, but everything looks pretty great as it is.
Before you learn how to draw A Desert Island, did you know?
If you like to get away from the rest of the world and find a place of peace and quiet, a desert island is exactly what you need. On the other hand, the very concept of it suggests that there are no people living on that island, which may not be so good in certain circumstances. You did see that famous Tom Hanks movie, right?
If you survive a shipwreck and end up alone on a desert island, without a mobile phone or another means of communication with the rest of the world, you’ll be pretty much left on your own. Even today, in the technological age, the satellites don’t really cover every single corner of the planet, and in some spots, you won’t get one single bar on the phone.
