Learn How To Draw A Cooking Pot Quickly
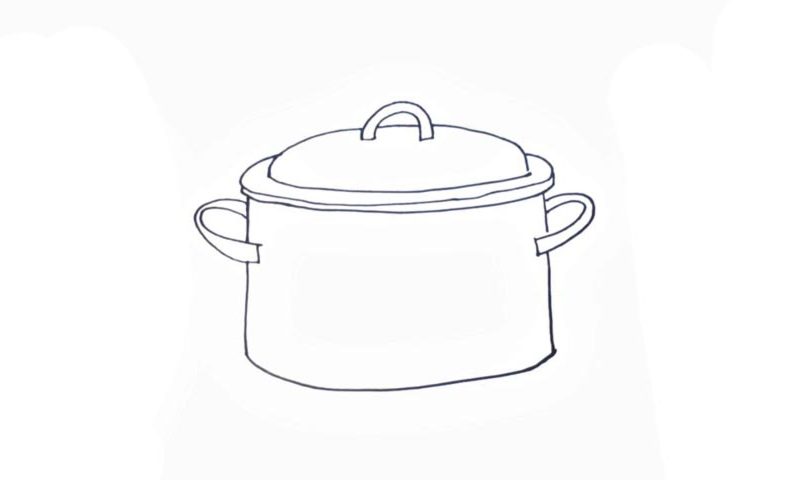
The cover, or, rather, the lid, comes first in this video guide (00 min 08 sec). Start with the handle at the very top that looks like a double half-circle, and only then move on to the main body. If you’re happy with the intro to this how to draw a Cooking Pot tutorial, then it’s time for us to take care of the pot itself. This is a 3D drawing; so, make sure to depict that.
You’ll need two equally-sized oval shapes right below the lid (00 min 25 sec). They create the illusion that the composition is three-dimensional. Once those are in place, go ahead and add the handle on the right side of the pot (00 min 41 sec). It’s very basic and won’t require any advanced skills. Same goes for the second handle on the left (00 min 58 sec).
They are pretty much identical to each other. Ok, ladies, and gentlemen – we’re done with this how to draw a Cooking Pot tutorial. Make sure you keep the proportions right and make your lines nice and smooth. True, a pot isn’t the most exciting thing to work on when we grab a pencil and a piece of paper, but this lesson will be very useful for you!
Before you learn how to draw A Cooking Pot, did you know?
You might say that this design is a bit outdated, and folks are using more advanced cooking pots these days. And while that’s partially true, the majority of households around the world still cook their meals in these old-school pots, simply because they get the job done.
Take a good look at that picture: what’s the first thing that comes to mind when you think about it? According to history books, these pots became extremely popular after WW2, as serial production of epic proportions allowed the manufacturers to offer an affordable price-tag for the survivors of the war around the globe.
