Learn How To Draw A Computer Quickly
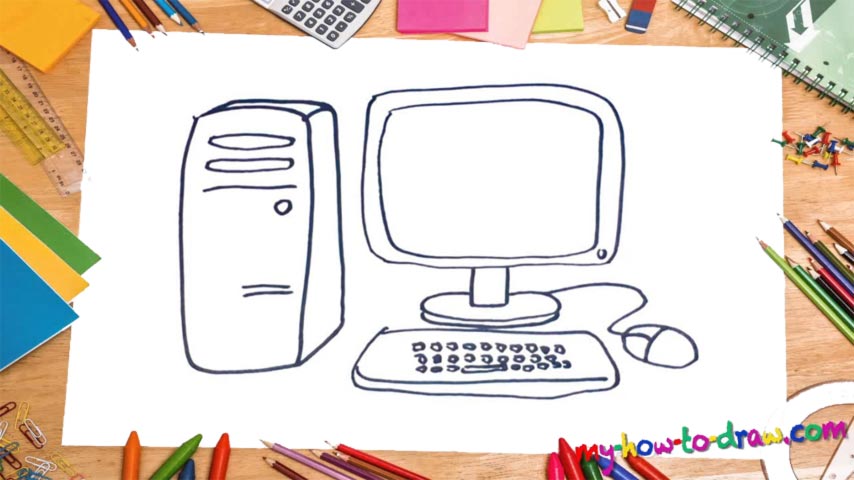
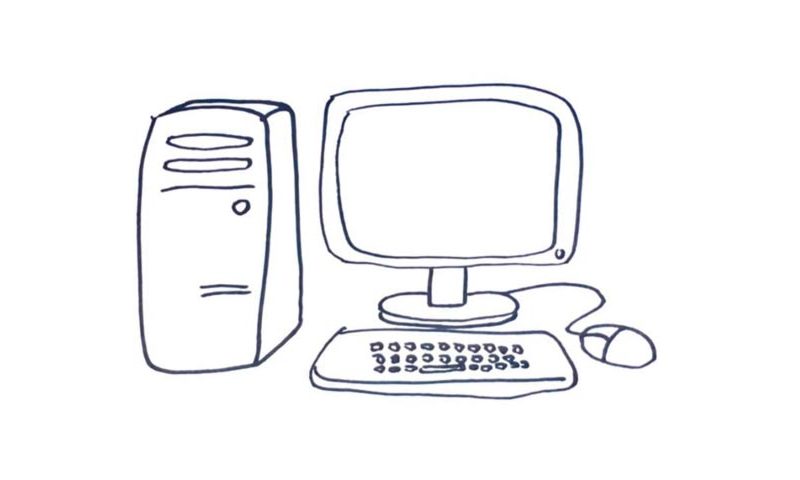
The case, or, as the modern-day kids call it, the “tower”, comes first (00 min 06 sec). It’s located on the left and looks like a regular box with a couple of knobs and buttons on it. This is the first step in the how to draw a Computer tutorial and we begin with the top of it. Take a good look at the video and make sure you’ve got the dimensions right (it needs to be in 3D).
You’ve got a circle in the right corner, two spots for the CD-ROM in the top corner, and a couple of lines at the very bottom (00 min 26 sec). If you’re happy with everything so far, move to the right and let’s take care of the monitor (00 min 43 sec). You’ll need a “curvy” rectangle and another one just like it (but a bit bigger) on top. And don’t forget about that tiny button in the bottom right (00 min 58 sec).
The stand/support is the next step in this how to draw a Computer tutorial. Take a look at your own monitor for an even more detailed image. All that’s left to do now is add the mouse and the keyboard (01 min 14 sec). Start with the cable coming from behind the stand; then, use a tiny oval shape with two lines to complete the mouse. The keyboard is located right next to the case and below the monitor (01 min 24 sec). Put a series of buttons on and be done with it!
Before you learn how to draw A Computer, did you know?
Computers are one of the greatest things developed by our kind. They help us save lives, control the weather, travel faster than ever, and get access to huge volumes of information. The very first mention of this word takes us back to 1613, according to the Oxford Dictionary.
But it was the 19th century when we began to use this term to describe machines with enough power to calculate faster than any human being. In the 21st century, they made the biggest influence on humanity and forever changed our lives. What else do they have to offer in the future?