Learn How to draw A Camel Quickly & Easily!
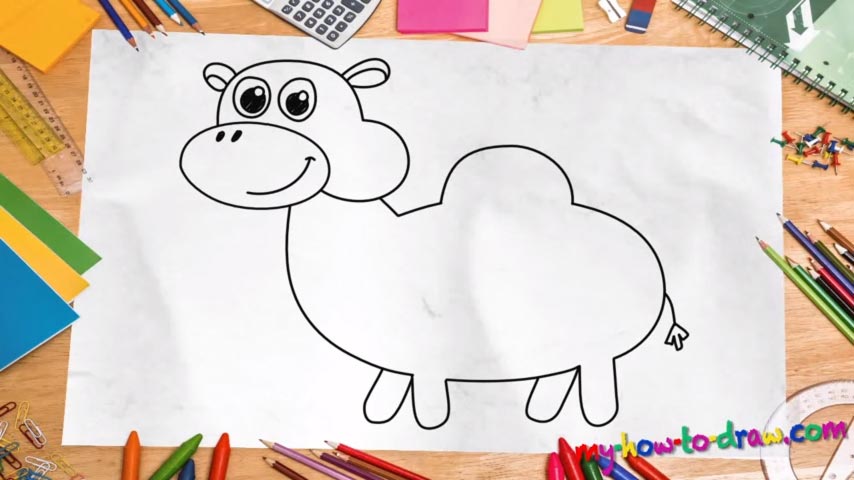
If you’re thinking to yourself something like “Hey, I’ll be done with this thing in a minute”, you’re right. This lovely camel is one of the easiest tutorials on our website. At the same time, it’s quite alright! So, let’s learn how to draw A Camel the proper way by adding the eyes first and making them of equal size (00 min 27 sec). The jaw is a round oval shape just below the eyes (00 min 55 sec).
Add two nostrils in the top left corner and a curvy line in the bottom right corner with an arrow-like tip for the mouth. Ok, we’re done with the facial features! Now use two curvy lines to complete the head just like you see in the video (01 min 13 sec). If you consider yourself to be a skilled pro, go ahead and finish the whole thing in one go. The ears are nice and easy.
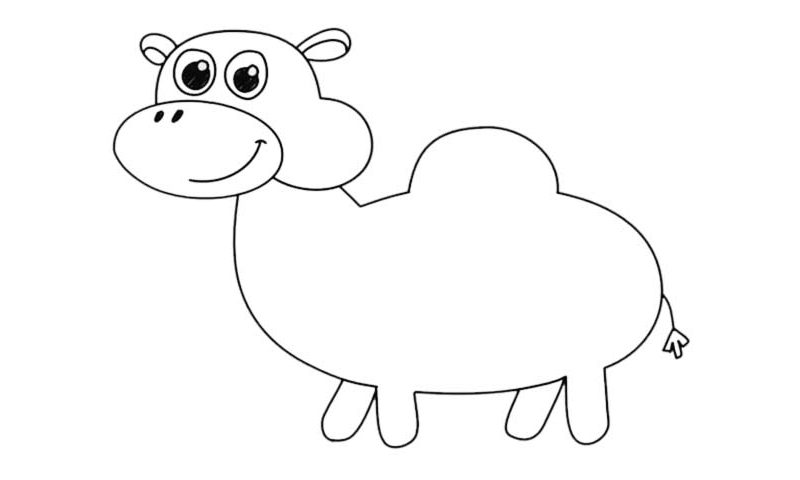
The next part of this how to draw a Camel tutorial is, of course, the body (01 min 32 sec). Make sure your animal is humpbacked and has four legs in total. The final part of this video-course is that tiny tail (01 min 55 sec). The legs are all identical and super-primitive. Still, they look nice and fit the whole simplified vibe we’re going for here.
Before you learn how to draw A Camel, did you know?
What do we know about camels? They’re majestic creatures with distinctive physical features like that trademark “hump” on the back. These animals live in the Middle-Eastern deserts and can survive without food and water for much longer than the humans.
Plus, their digestive systems can handle all kinds of thorny flowers that grow in the rough desert terrain. Overall, camels are incredible beings that prove God is Almighty and that we all need to appreciate the world and the numerous creatures that inhabit it.