Learn How To Draw A Butterfly Quickly & Easily
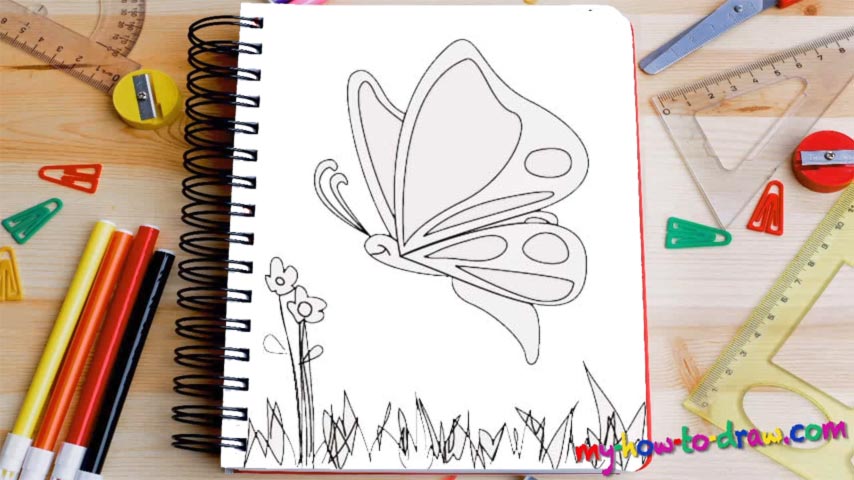
Divide and conquer – that’s exactly what we’re going to do in this video. The biggest wing in the middle that looks like a heart and a guitar pick comes first (00 min 04 sec). Moving on with this how to draw a Butterfly tutorial, you’ve got another one right below it (00 min 08 sec). It’s much smoother and tinier. As for the two shapes in the bottom right and the bottom left, they are the butterfly’s body (00 min 16 sec).
The last wing sits on top of the head (00 min 20 sec). It’s also pretty small. Those antennas slash tentacles are the easiest part of this guide and should be placed at the very edge of the head (00 min 28 sec). Alright, now it’s time for the pattern, or, rather, the ornaments inside those wings (00 min 35 sec). Start with the one on the left and gradually move to the right.
This is the last step in this how to draw a Butterfly tutorial, so, don’t rush anything. The pattern is different, but it’s easy and won’t be a problem for you. You’ve got two circles, and several primitive shapes to cover every single wing. Wait, that’s not it yet: the grass at the very bottom comes next (00 min 55 sec). And, there’s a lovely flower in the left corner (01 min 00 sec). And now we’re done!
Before you learn how to draw A Butterfly, did you know?
As one of the most “advertised” living things in the world, the Butterflies have a strong presence in our culture. As kids, we read about magical butterflies that help the heroes fight the evil kings. As adults, we learn that they play a major role in keeping the balance.
They are insects and have been around for 55+ million years. Did you know that the butterflies go over four life cycles before spreading their wings and flying away? The egg comes first; the caterpillars follow; and when the pupa fully develops, the wings come out and it turns into a butterfly.