Learn How To Draw A Bottle Of Milk Quickly
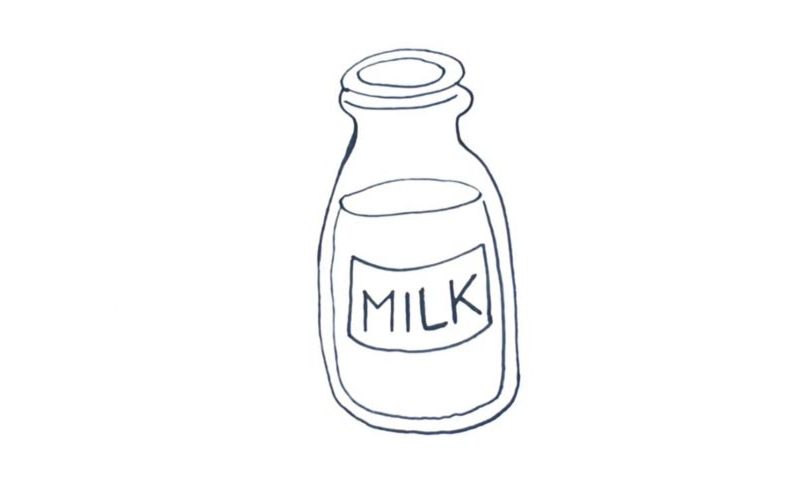
This is a very simple and old-school tutorial. Easy-peasy, as they say. Still, if you want to learn how to draw a Bottle Of Milk the right way, you’ll need to follow my guide. The two sides of the bottle are identical to each other, and we’ll begin with the right side (00 min 08 sec). The top, or, rather, the neck, looks like a question mark.
The rest is much simpler and more straightforward. Once you reach the bottom, create a curvy horizontal line. Do the same with the left side (00 min 20 sec). The next step includes two oval shapes on top of each other (00 min 37 sec). Add another half-circle at the bottom (00 min 44 sec). Alright, we’re almost done with this how to draw a Bottle Of Milk tutorial.
All that’s left to do is add the label and the milk itself. So, go to the middle of the drawing and put in the liquid (00 min 53 sec). The “MILK” inside a rectangular piece of paper is the last step (01 min 06 sec). Looks pretty retro, doesn’t it?
Before you learn how to draw A Bottle Of Milk, did you know?
Nothing fancy about it, especially if you’ve been drinking milk for most of your life. On the other hand, if you don’t know its original color you’ll probably never guess it when asked. It’s the most basic dairy product and comes with numerous perks for our health. As you might already know, cheese, cottage cheese, and yogurt are all made from milk.
By the way, a large number of people around the world, especially on the African continent, can’t “handle” milk well. It’s mostly true for the black folks and some Asian nations. It has to do with their historical homelands and the fact that they were never big fans of cattle breeding. So, make sure you check that before cooking a meal for your foreign friends!
