Learn How To Draw A Birdie Quickly
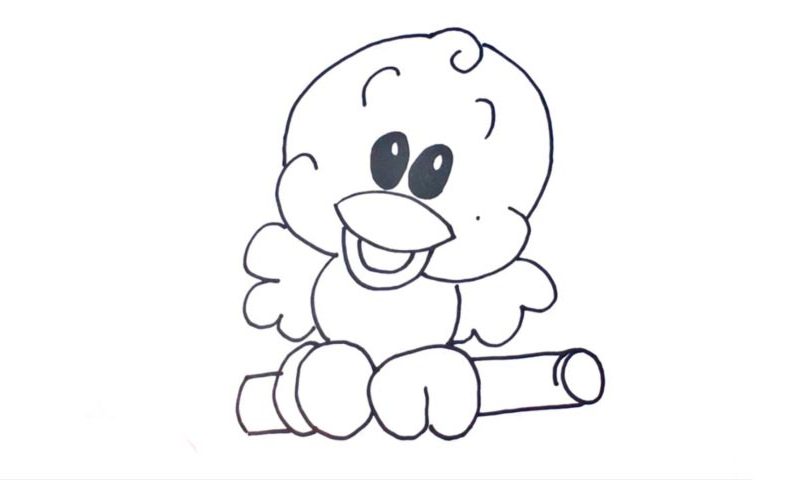
Let’s start with the beak that looks like a pacifier (00 min 07 sec). It consists of two parts: a “rock” at the top and two half-circles at the bottom. Once you’re done with the intro to this how to draw a Birdie tutorial, move on to the big eyes (00 min 22 sec). Color them black but leave tiny white spots in the upper corner for the pupils to look realistic.
The brows sit quite high above the eyes (01 min 05 sec). Use two simple lines to complete this part and get to the shape of the head. For the cheeks, you’ll need two curves that look like the reversed letter “C” (01 min 14 sec). The shape of the head is very basic but comes with a “twist” at the very top. Ok, now it’s time to take care of the a big part of this how to draw a Birdie tutorial – the wings (01 min 32 sec).
For the body, add two primitive lines – nothing more. The huge legs are next on the menu, dear friends (01 min 47 sec). As you can see, they’re holding onto a log, and it’s the final stage in this lesson. See how easy that was? Now you’re the master of birds!
Before you learn how to draw A Birdie, did you know?
There are more species of birds on our planet than we could ever count. In this particular video, we’ve got a rather cute birdie sitting on a log and looking at us with that big, all-conquering smile. If you’re into something more serious, please, do check out our the more sophisticated and advanced drawings on this website.
But if you’re all about having a good time and putting a cartoon-friendly character on a piece of paper (or in your favorite graphics editor), then follow me! Even though today’s lesson is relatively easy, it will help you “nail” the basics and create a foundation.
