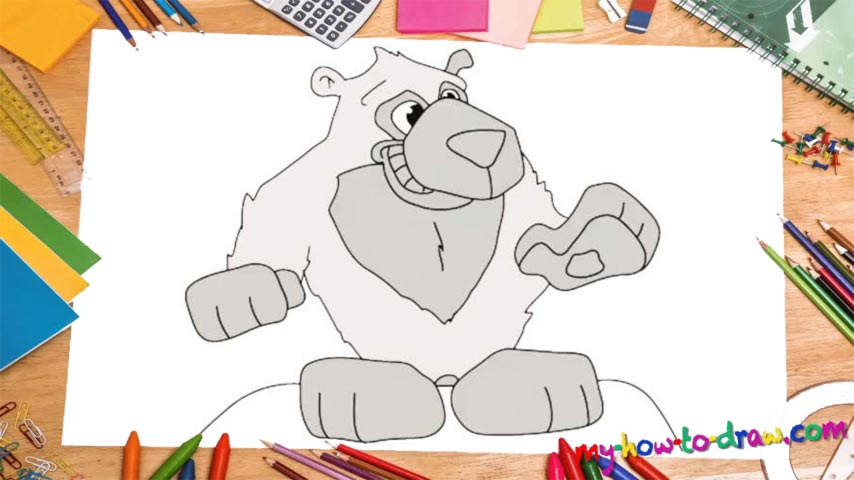
Learn How To Draw A Bear Quickly & Easily
Begin with the front jaw and put that huge nose right in the middle (00 min 05 sec). Once both elements are in place, move on with this how to draw a Bear tutorial and add the mouth on the left (00 min 20 sec). As for those rectangles on top, they are there for the beast’s eyes (00 min 25 sec). Use a fluffy line to cover the hair on its head (00 min 35 sec). The ears should follow.
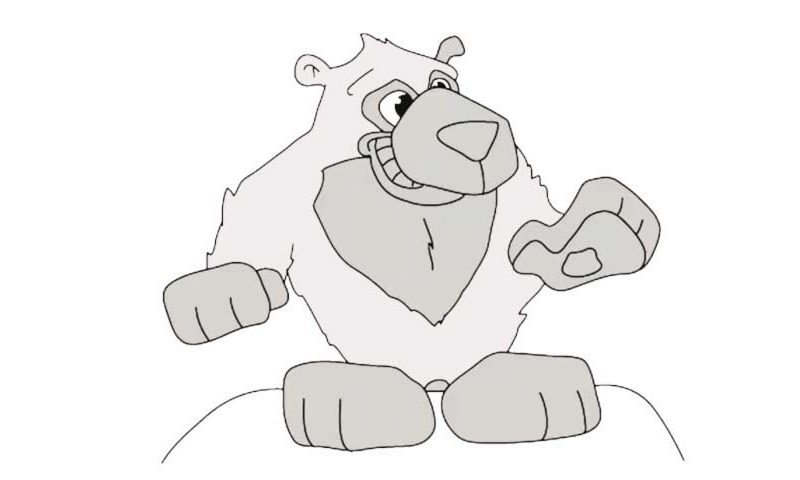
Ok, we’re almost done with the head. Add a long and zigzag-like line for the left side (00 min 50 sec). The fist is very simple. The right hand is located at approximately the same height but the palm is open wide (01 min 05 sec). If you’re happy with what you’ve got so far, go ahead and draw the feet at the bottom of the paper (01 min 15 sec). At this point, they look like two shapeless rocks.
By using two short lines, connect them to the hands, thus completing the body (01 min 20 sec). We’re almost done with the how to draw a Bear tutorial. All that’s left to do is create the «shield” right below the head, the eyes (with the pupils), and the claws (01 min 30 sec). The last thing to take care of is the mouth and those scary teeth (01 min 45 sec). And don’t forget about the hill it’s standing on!
Before you learn how to draw A Bear, did you know?
Did you know that there are eight living species of bears on planet Earth? That’s right, and they’re spread all over the place. They have five claws, large, massive bodies, and a controlled temper. But if you try to hurt their little ones, the bears will tear you apart.
Most of the time, these animals are herbivorous; however, when they’re hungry and can’t find something to eat, the bears can and usually do attack other animals. The scientific term for them is “omnivorous”, which means they’ll eat pretty much anything that tastes good.