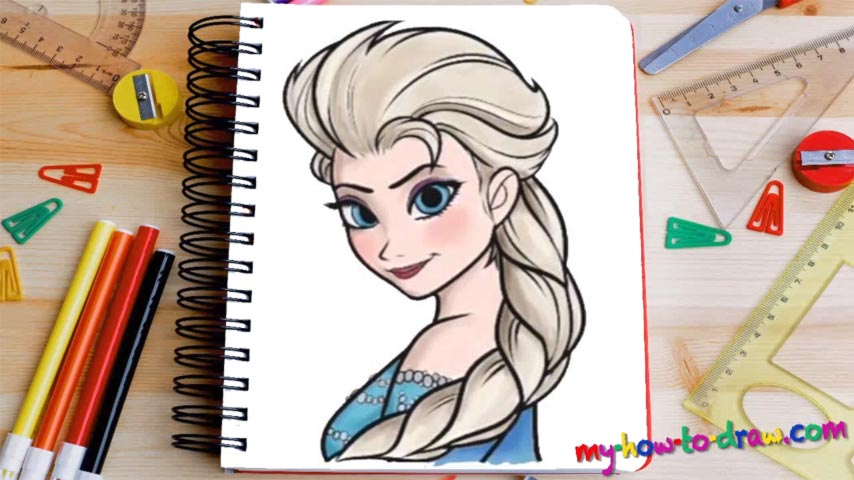
Learn How To Color Or Paint Queen Elsa Frozen in Photoshop Quickly & Easily!
So, as you can see, the portrait is already there. Our focus will be on painting it. For the hair, the intro to this how to color or paint Queen Elsa Frozen in Photoshop tutorial, you’ll need different variations of brown (00 min 04 sec). First, we go over it using lighter strokes. Then, we switch to a darker tone and “highlight” the places where the shadows are. That way, we create an illusion of a three-dimensional drawing.
The girl’s face and body come next (00 min 40 sec). Use super-light pink for that. The lips should be colored in red. As for the rest of the makeup, use dark pink to accentuate this beauty’s mesmerizing eyes (01 min 02 sec). To make her look even better, switch to bigger strokes and add some “blush” on her cheeks. The shades come next (01 min 12 sec). The technique is the same: use darker tones to accentuate certain parts of the face and the body. The eyes should be blue.
Moving on with the how to color or paint Queen Elsa Frozen in Photoshop manual, go back to the hair and the body, but instead of darker tones, use white (01 min 44 sec), just like I did in the video. Doesn’t that dress look awesome in blue (02 min 27 sec)? Once you’re done with it, use a different tone of blue to color the background (03 min 09 sec).
Before You Learn How To Color Or Paint Queen Elsa Frozen in Photoshop, Did You Know?
This isn’t a regular drawing lesson, dear friends. Instead of focusing on creating a black-and-white outline for Elsa, we’ll try to paint her portrait and turn the queen into a beauty. And, instead of doing it on a piece of paper, we recommend using Photoshop.
That way, you’ll always have a chance to go back and fix any imperfection in a matter of seconds. By mixing various shades, using lighter/darker strokes and implementing the shading technique, you’ll be able to achieve great results. Have fun with our coloring guide!
Tip: The easiest way to keep the black lines on top of the coloring layers is to place your drawing on the very top layer and set it to multiply. This will eliminate any white and show you the black artwork over your coloring. Make sure to lock that layer to avoid coloring on it accidentally.

