Learn How to draw Toy Chica No Beak Quickly & Easily!
Regardless of the drawing and/or the goals you’re pursuing, it’s always nice to have a rough sketch that will guide you down the road. That’s because unless you’re an experienced artist, getting the shapes, the positions and the proportions right will be quite a challenge. In this particular how to draw Toy Chica no beak tutorial, the guidelines are simple. Begin with the huge circle in the middle (00 min 38 sec).
Next, divide it with three lines – one vertical (straight), and two horizontal (curvy). Once that’s all in place, move on to the lower part of the drawing – the body – and create three lines and two tiny circles (01 min 07 sec). If you’re happy with the rough sketch, arm yourself with darker strokes (or a marker) and let’s finish this how to draw Toy Chica no beak guide.
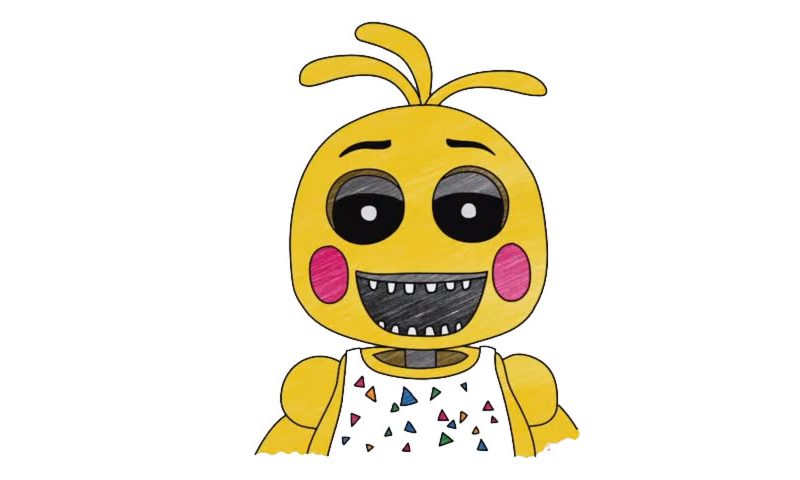
The eyes always come first (01 min 55 sec). They are identical and pretty easy. Just follow the video and you’ll be alright. Once you’re done with the eyebrows (don’t forget to color them), take care of the mouth (03 min 06 sec). The teeth are the easiest part of this tutorial, but they do add a lot of “swagg” to our character (03 min 25 sec).
The head pretty much goes over the guiding circle we did in the beginning (04 min 12 sec). That flower on top of it is actually Chica’s hair. Without the rough sketch, the body will be a challenge. But since we’re already though that stage of the how to draw Toy Chica no beak manual, it should be a piece of cake (04 min 51 sec). If not, spend some time on perfecting the lines and curves. Paint the eyes black-and-white for that scary look.
Before you learn how to draw Toy Chica No Beak, did you know?
If you’re familiar with Fight Night At Freddy’s, this sinister-looking character is not news to you. If not for the scary attitude, this birdy might be a pretty nice little thing, but as an animatronic, it’s dangerous and shouldn’t be messed with.