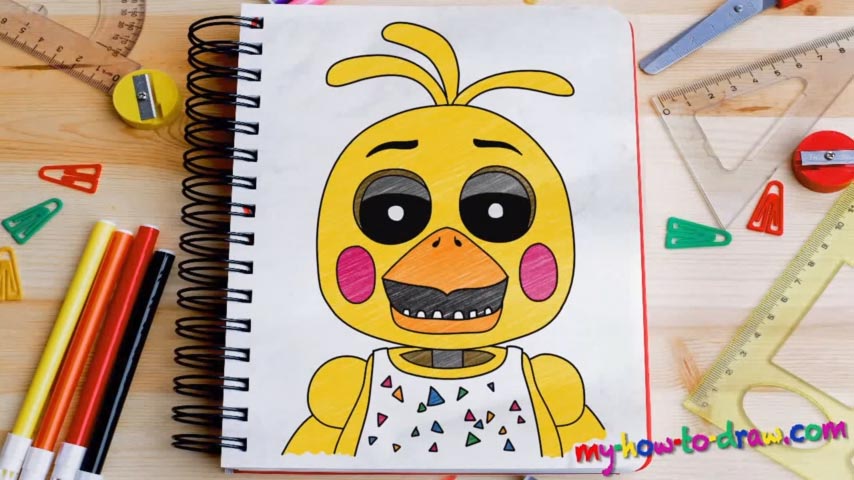
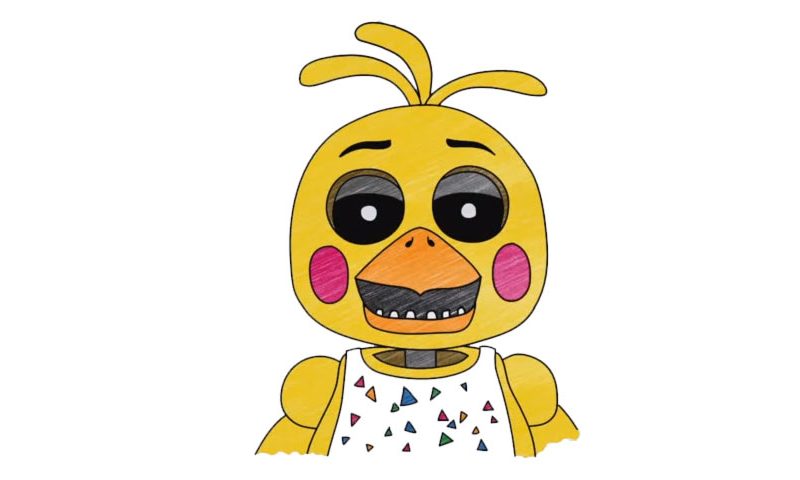
Learn How to draw Toy Chica With Beak Quickly & Easily!
We gotta warn you right from the start that even though this character looks funny, it’s actually not that easy to draw. So, take your time with it and don’t be afraid to go over certain parts until you get them right. Ok, let’s learn how to draw Toy Chica with beak, shall we? The rough sketch is incredibly simple. Start with the circle in the middle (00 min 38 sec).
Once you’re done with that, divide it with three lines – one vertical (straight) and two horizontal (curvy). Without these, it will be much harder to get the sizes and the proportions of the facial features right. As for the next three lines and two tiny circles, they’re there for the body (01 min 08 sec). Don’t spend too much time with these guidelines, because they’re not here to stay.
Ok, the main part of this how to draw Toy Chica with beak tutorial comes next. Use your marker to draw the eyes (01 min 55 sec). Good news: first of all, they’re pretty easy to draw; second, they’re identical. All it’s gonna take you is a couple of circles and a couple of lines. After you’re done with the eyebrows, move on to the beak (03 min 08 sec).
It’s the simples shape in this tutorial but takes up a lot of room. The mouth comes next. But before you draw the teeth, don’t forget to put the nostrils in. The cheeks are just two oval shapes that you should paint pink (04 min 13 sec). The head practically goes over the rough sketch.
The hair on top looks fun, doesn’t it (04 min 45 sec)? The body is also heavily based on the guidelines we did in the beginning and will be a piece of cake.
Before you learn how to draw Toy Chica With Beak, did you know?
Adorable characters always lift your spirit and make your day that much more interesting. This cute little guy actually comes from a horror game called 5 Nights At Freddy’s; that means you’ll have to watch your own back and treat this animatronic like caution.

