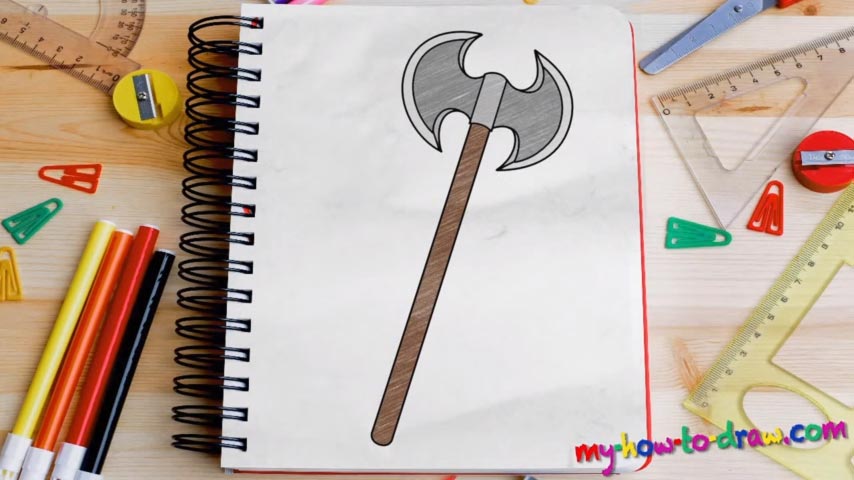
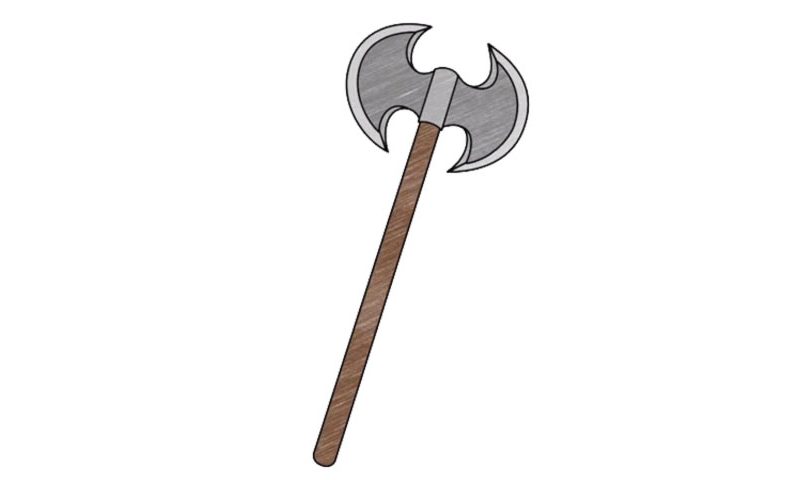
Learn How to draw A Twin Blade Axe Quickly & Easily!
Before you even put your first strokes on the paper, make sure it’s positioned properly and is approximately of the same size of the one I use. And, start drawing at the exact spot where I do. That way, during the how to draw a Twin Blade Axe tutorial, you’ll always know that the placing and the proportions are right.
The rough sketch comes first and it shouldn’t be super accurate. We’re just making some basic guidelines for ourselves. So, create an oval shape in the top right corner (00 min 38 sec). Next, draw a long straight line from the top of that oval to the very bottom of the paper (00 min 46 sec). Make sure to position these two shapes the same way I did.
The rest is easy: just follow the video and put the rest of the guidelines in. And now we can move on to the next stage of this how to draw a Twin Blade Axe tutorial – the actual thing. Start in the middle of the oval (01 min 40 sec). After you’re done with the simple shape, draw two parallel lines that “hug” the long light-strokes line we did in the beginning (01 min 54 sec).
The blade itself is relatively easy to draw and the top looks like a reversed half of a heart (02 min 08 sec). The bottom shape should be exactly the same only flipped upside down. If you did everything right with the twin-blade, you’ll have a mighty ax on your hands. The final step involves getting rid of the rough sketch and coloring (03 min 07 sec). The standard combination of colors looks great.
Before you learn how to draw A Twin Blade Axe, did you know?
The modern-day generation that appreciates comic books, sci-fi/fantasy movies, and video games, certainly does know how to handle an ax like that one. If you’re a part of that community, then we bet working on this particular drawing will be fun for you.

