Learn How To Draw A Baby Chick Quickly
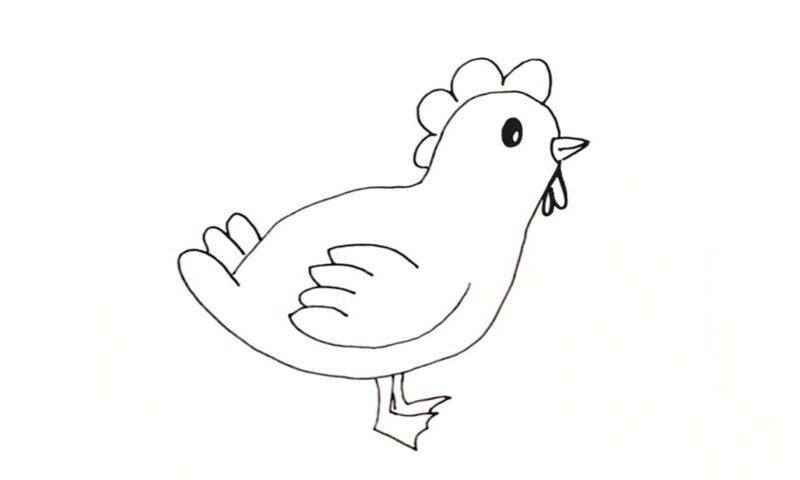
No, we won’t begin with the beak or the eyes. The body comes first (00 min 06 sec). Start in the right corner with the top of its head and slowly move all the way down to the tail. Then, use a nice and curvy line and complete the outline of this how to draw a Baby Chick tutorial (00 min 20 sec). For the tail, you’ll need three similar-looking shapes sitting on top of each other.
Ok, now that we’re done with the intro, it is time to add the beak (00 min 40 sec). It looks like a carrot to me. Make it nice and short, though. The one and only eye sits in the middle of the head (00 min 48 sec). As always, color it black but leave a white spot. The fancy comb looks like a crown (01 min 00 sec). The caruncles below the beak follow (01 min 08 sec).
The wing is the next part of this how to draw a Baby Chick tutorial (01 min 20 sec). It’s like a copy of the tail we drew earlier. To complete this tutorial, go ahead and add those tiny legs (01 min 32 sec). They don’t come with many details; so, it won’t be a problem to draw them.
Before you learn how to draw A Baby Chick, did you know?
Officially, a chick is a baby bird or a bird that hasn’t yet reached maturity. However, we often use this word to describe chickens, even though that doesn’t really apply. Now, different bird species treat their chicks differently. Some of them stick around until the babies are fully developed and can take care of themselves. Without the parents, they simply won’t survive.
At the same time, many species leave the eggs behind and travel to different regions. It all depends on the nature of things, and while the first group won’t make it without the mother, other chicks are “combat ready” pretty much the second they hatch from their eggs. Funny how the world works, right? It definitely does give us a lot of food for thought.
