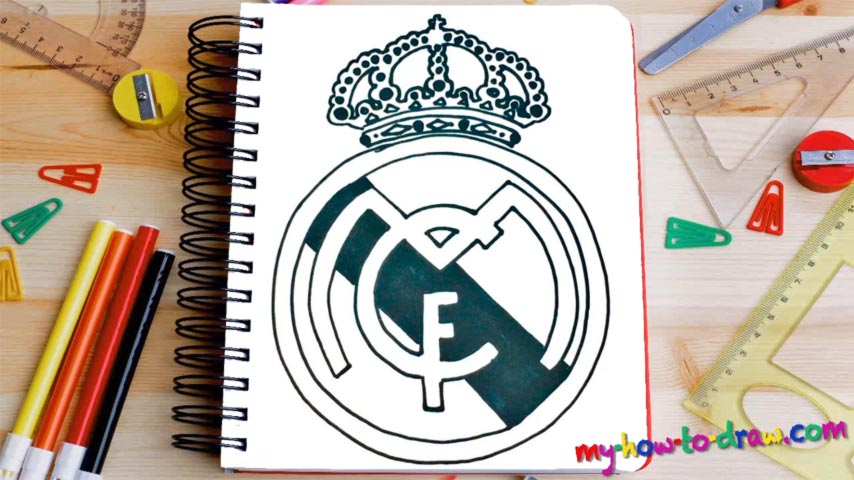
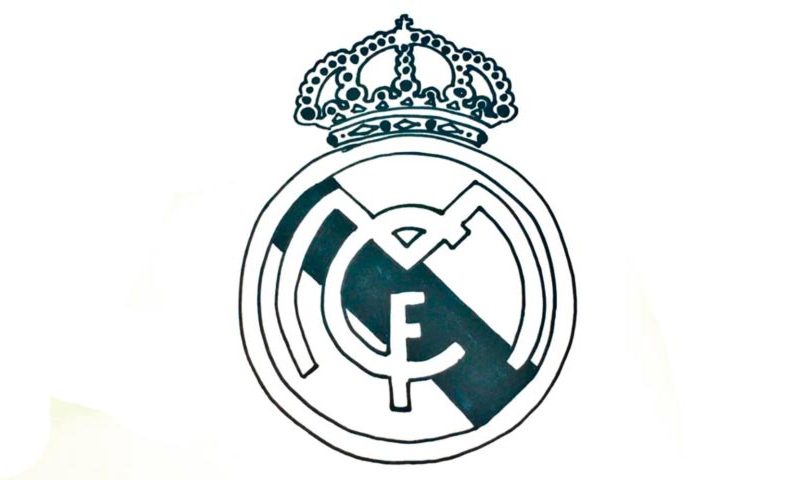
Learn How To Draw The Real Madrid Logo Quickly
We begin by creating a round circle right in the middle of the paper (00 min 05 sec). Once it’s in place, add another one just like it on the inside (00 min 20 sec). Ok, the foundation of this how to draw the Real Madrid Logo is there. The letters “M C F” come next (00 min 45 sec). They sit on top of each other, which makes this part a bit tricky.
You can either draw the “M” and them simply put the remaining two letters over it, or follow my example and be more accurate. Outline the “M” first. As you can see, the “C” overlaps with it at the top; the “F”, in turn, overlaps with the “C”. Got it? Alright, then let’s add the iconic black line like you see in the video (02 min 33 sec).
The crown in the upper corner is the last step in this how to draw The Real Madrid Logo tutorial (04 min 35 sec). It consists of a series of repetitive curves and circles. The first level with the diamonds comes first. That wavy line will cover the top (05 min 23 sec). The rest is easy.
Before you learn how to draw The Real Madrid Logo, did you know?
The fans of soccer already know that this is one of the greatest teams in history. Lean, mean, and ever ready to fight, these fellas are always bringing their A-game to the table. Did you know that this team has been around for more than 115 years ago? That’s right: Real was founded in 1902 and is, to this day, a huge inspiration to the young boys in Spain and all over the world.
In Spanish, the word “real” means royal, and that’s what this team goes for – a next-level performance that only the kings can handle. With a stadium that takes in 81K people, Real is all about going big and winning the most prestigious cups in the world. Even if you’re not familiar with soccer at all, legendary players like Zidane and Ronaldo do ring a bell, don’t they?

