Learn How To Draw A Syringe Quickly
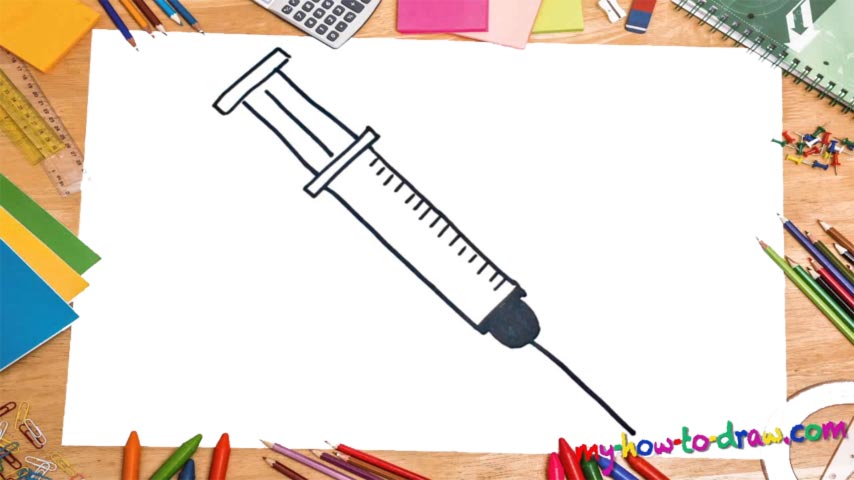
The part in the middle comes first (00 min 07 sec). It’s just a simple rectangular shape that sits in the middle of the paper – nothing fancy about it. After you’re done with this stage of the how to draw a Syringe tutorial, move higher up to take care of the part at the top (00 min 20 sec). There’s a thin line between the two sections. Put it in and only then move on.
Use three parallel lines to complete it. Oh, and don’t forget about another thin part that makes it easier to inject the liquid (00 min 33 sec). The needle sits on a half-circle in the lower corner colored black (00 min 47 sec). Make sure you get the size right. If you’re happy with it, go ahead and add the needle – a long and super-thin line (01 min 02 sec).
Ok, now we’re off to the final step in this how to draw a Syringe tutorial – the scale in the middle section. Yes, I’m talking about those short lines in the right corner that allow the doctors to see exactly how much of the liquid is still there and how much they injected into the patient (01 min 10 sec). Alright, that was it!
Before you learn how to draw A Syringe, did you know?
We bet you’ve seen one of these more than once in your life. The medics (or, rather, the nurses) use them for direct injection of medicine into our bodies. Plus, they are also used for preventive vaccination. It’s painful at first, but if you get into the right “mood”, it will be relatively easier to go through with it.
Modern-day syringes are very simple pumps that come with pistons. The needle is the most important part, as it passes the liquid into the body. It’s worth mentioning that this word comes from the Greek term “syrinx” which literally translates into “tube”. Ok, now you know a little bit more about syringes!