Learn How To Draw Cartoon Eyes Quickly
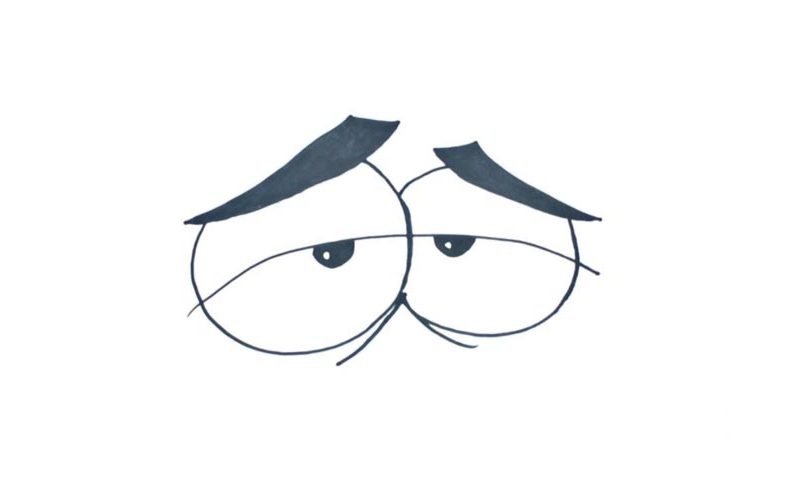
The point of this video is to have a lot of fun and see if we can get everything right from the get-go. So, join me in this how to draw Cartoon Eyes tutorial and let’s begin! Start by drawing a long horizontal line right in the middle of the paper (00 min 06 sec). It will divide the circles we’re about to add into two parts – the eyelids and the eyes.
Put the left eye in first and only then move on to the next one (00 min 14 sec). They should overlap each other a bit and take up most of the available space. You won’t need full circles, though: leave some space at the top for the brows. The pupils are the next step in this how to draw Cartoon Eyes tutorial (00 min 42 sec). They are very tiny and you might think they’ll get lost in the overall composition.
But follow my guide and everything will be alright. It’s time for us to add the fancy eyebrows now (01 min 10 sec). The one on the right is significantly smaller than its “sibling” on the left. But they’re equal in shape. Make sure you color them both black. So, how does the final result look? Pretty awesome, right?
Before you learn how to draw Cartoon Eyes, did you know?
The eyes are one of the most amazing and sophisticated facial features of a human being. They are capable of expressing a wide range of emotions, and it’s up to us to recognize them and to catch the “vibes”. As you can see, we’ve got a set of cartoon eyes in this lesson.
This example is not nearly as complex as, they, the real thing, but there are a few tricks you’ll learn along the way today. Cartoon eyes aren’t about drawing a realistic picture but rather about making us laugh and have a good time. Just look at my example: don’t those eyes look super cute?

