Learn How To Draw Manga Girl Quickly & Easily
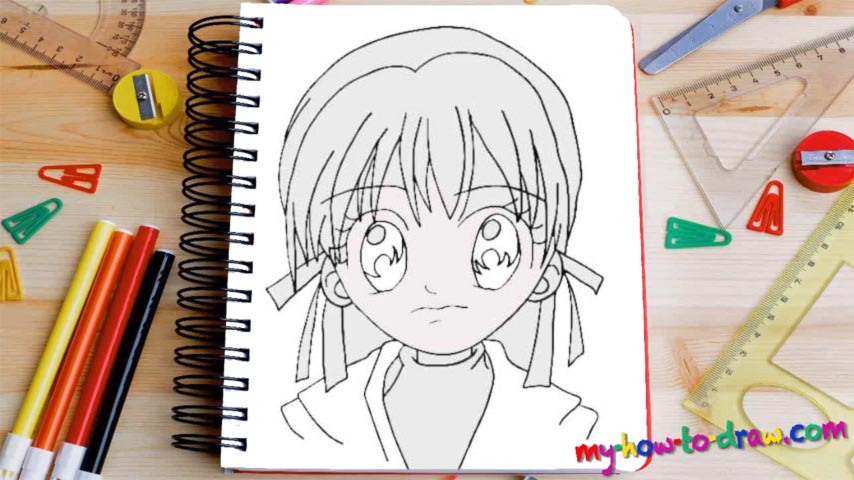
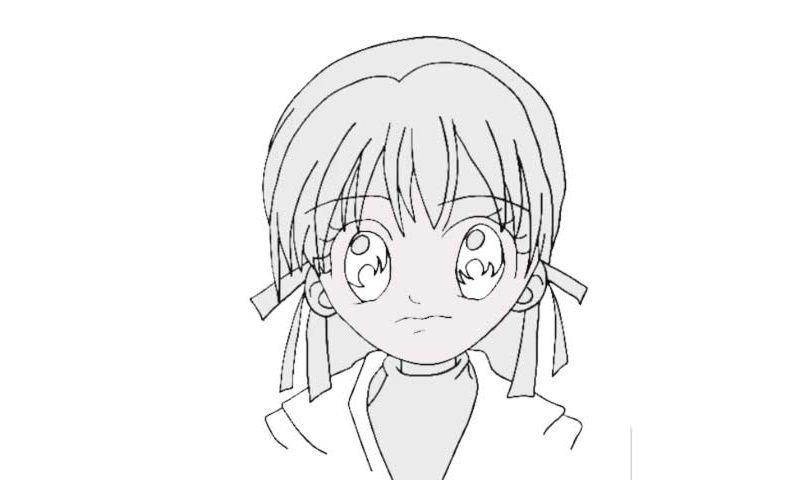
We start this tutorial with the young lady’s head. The line at the bottom is her lower jaw (00 min 21 sec). Next, use a huge curve to cover most of the hair (00 min 35 sec). Ok, now that the basics are in place, we can learn how to draw Manga Girl. Let us focus on the facial features before moving on to the hair and the upper body (00 min 55 sec). Put the primitive brows on and get to the eyes.
They look identical and come with lush lashes (01 min 35 sec). Use three simple (and separate) lines for the nose, the mouth, and the chin (01 min 50 sec). The pupils are the next step (02 min 20 sec). Pay attention to the fact that the eyes are truly huge and they’re located lower than they usually are in real life (that’s the beauty of Manga). After you add the ears, move on to the next stage of this how to draw Manga Girl tutorial – the hair (02 min 47 sec).
Thankfully, it’s the easiest part of the video guide and you’ll just have to put the strands on her forehead from left to right – that’s it! The bands slash ribbons that we see behind her ears are identical to each other (04 min 00 sec). The upper body is quite minimalistic (04 min 55 sec). You’ll need several simple lines to outline the shoulders and the clothing she’s got on.
Before you learn how to draw Manga Girl, did you know?
This is a unique genre because, on one hand, you’ve got the strong “Asian” ties. But on the other one, Manga was heavily influenced by the Western culture after WW2 was over. So, it’s a mighty mix of the best of both worlds: that is why folks all over the world love it.
Some people think that Manga always comes with erotic content, but that’s not true. In Japan, this is a well-respected form of art and people of all ages and social standings read it in their free time. It combines all kinds of genres, including action, romance, and sci-fi.

