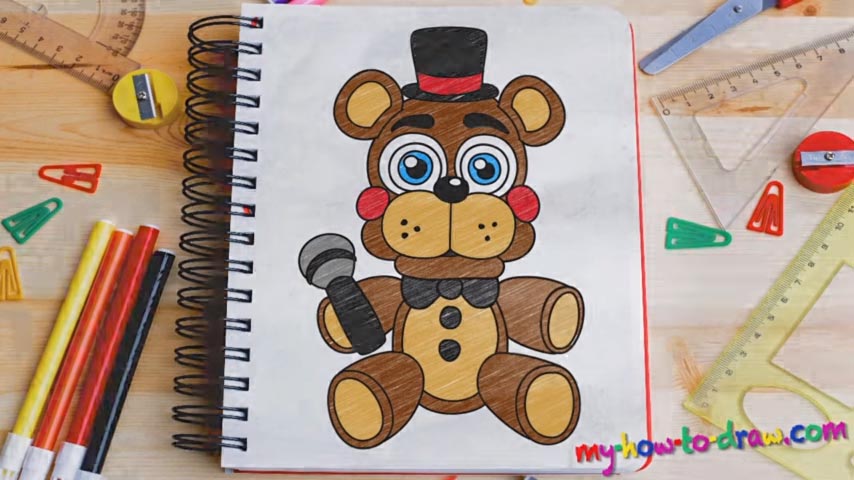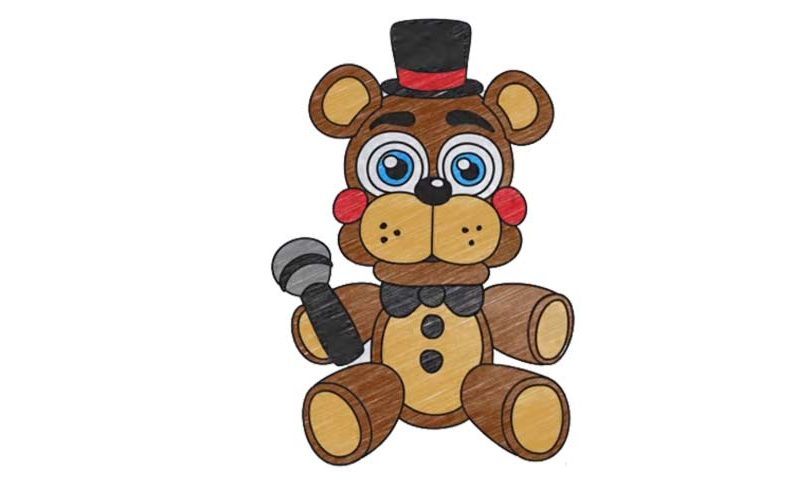
Learn How to draw Plush Toy Freddy – FNAF Quickly & Easily!
This little guy looks pretty cool, right? So, get in the right mood, get a paper of the exact size as I did, use only light strokes for the rough sketch and let’s learn how to draw Plush Toy Freddy – FNAF. Start with the circle for the head and add a vertical line that begins at the top and ends at the bottom (00 min 35 sec).
Once that’s in place, put in two overlapping and smaller circles at the bottom of the big circle (00 min 55 sec); two more at the top represent the ears. The body is relatively easy and is basically an oval shape just below the head – that’s it (01 min 18 sec). The four tinier ovals on both sides will soon turn into the hands and legs of our hero in this how to draw Plush Toy Freddy – FNAF tutorial.
Ok, now we can get to the actual drawing. We recommend starting with the big, black nose (02 min 19 sec). The mouth comes next (02 min 58 sec). The eyes are identical and are pretty easy to do (03 in 08 sec). Simply draw 5 circles (each smaller than the previous one) and you’re good. Don’t forget about the eyebrows!
That hat on top of his head adds extra charm (04 min 40 sec). And don’t the ears look like tiny lamps (05 min 05 sec)? If you’re happy with the head, move on to the body – the bowtie, to be exact (05 min 57 sec). Make sure to draw the mike in just the right position – that’s very important for this how to draw Plush Toy Freddy – FNAF manual ((06 min 15 sec).
The rest – the legs and the hands – is a piece of cake. Obviously, before you say goodbye, you’ll have to erase the rough strokes (08 min 29 sec). Color or not to color? You gotta answer that question for yourself!
Before you learn how to draw Plush Toy Freddy – FNAF, did you know?
Toy Freddy is a key player in this video-game and you can see him by using a flashlight. Night Five is when he becomes extra dangerous, so, you’ll have to watch out. The rest of the time, he’s mostly chillin’ and won’t be a problem.