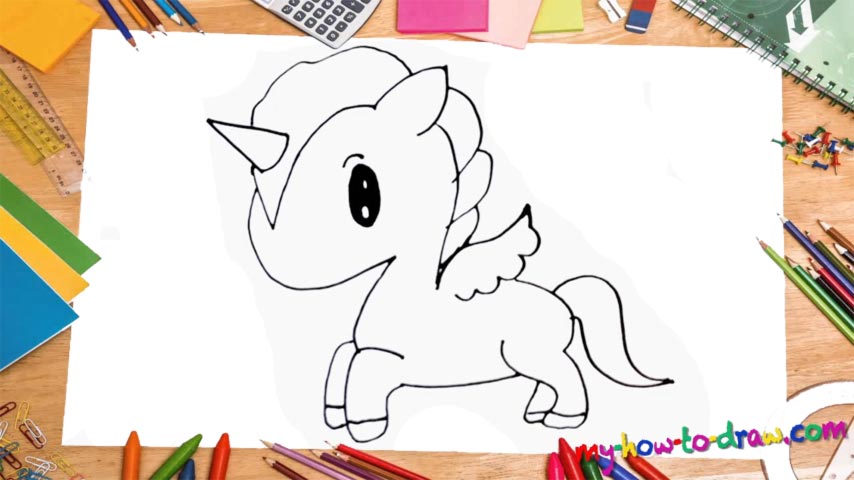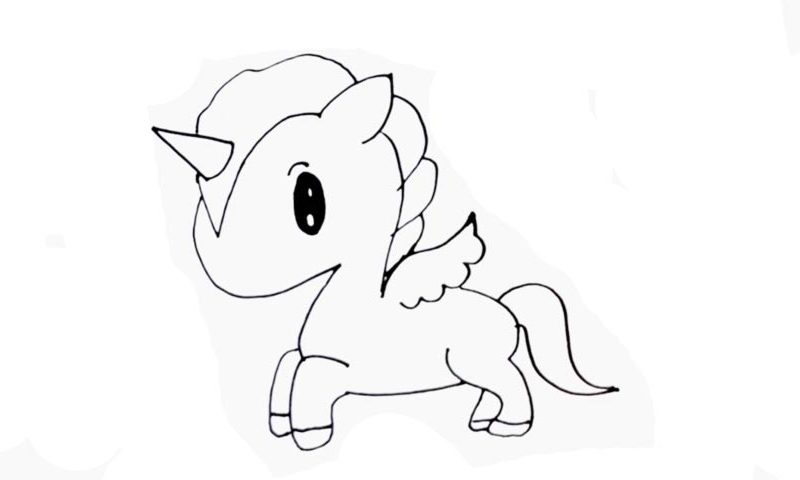
Learn How To Draw A Kawaii Unicorn Quickly
The fact that this is a Kawaii drawing makes it ok for the head to be bigger than the rest of the body. It would be best to divide it (the head) into several parts. That way, this stage of the how to draw A Kawaii Unicorn tutorial will be much easier. Start in the right corner with a vertical line (00 min 07 sec). The chin is a V-like curve at the bottom (00 min 14 sec).
Once you’re done with the sharp ear, move to the gorgeous hair (00 min 28 sec). It consists of several similar shapes. The horn sits in the right corner and should be nice and pointy (00 min 40 sec). Some folks try to make it way bigger or longer – don’t do that. The huge eye is located in the middle of the head (00 min 49 sec). Color it black with two white spots.
The wing is up next in this how to draw A Kawaii Unicorn tutorial (01 min 20 sec). The legs are quite short, and because the animal is running, there’s a huge gap between the front and the rear legs (01 min 31 sec). The tail concludes this video guide (01 min 48 sec).
Before you learn how to draw A Kawaii Unicorn, did you know?
Do you believe in unicorns? These creatures don’t really exist, but in the ancient books, they do play an important role. Basically, they are regular horses, but with horns on their heads (usually, it’s one horn). They are fast, strong, and can even make your dreams come true (again, no person out there can confirm or deny it).
These legendary creatures are constant guests in fantasy books, movies, and video games. The Ancient Greeks mentioned them quite regularly, leading the historians to believe that maybe they did actually exist before going extinct. Sometimes, the unicorns also have wings and help the heroes fly from one place to another. It would be awesome if we had unicorns living among us today, right?