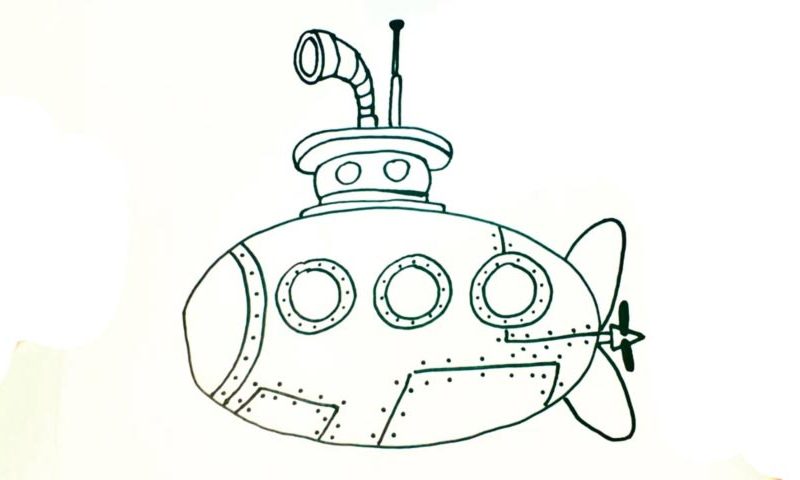
Learn How To Draw A Submarine Quickly
Start with a huge oval shape right in the middle of the paper (00 min 05 sec). That will cover the main body of our sea vessel. Then, add two identical curves in the left corner (00 min 21 sec). Don’t forget about those dots inside! The hatch sitting a bit to the right is the next step in this how to draw a Submarine tutorial (00 min 40 sec).
Again, cover it with dots. The three windows in the upper corner follow (01 min 01 sec). They look identical to each other and take a lot of space. You’ll need two similar circles of different sizes for each. The dots will make them look more realistic. See the second hatch in the lower right corner (01 min 53 sec)? It’s very simple and straightforward.
The huge propeller in the back is the next step in this how to draw a Submarine tutorial (02 min 34 sec). Both blades look the same. Color the part in the middle black. The top of the sub with those “observation tubes” completes this video guide (03 min 04 sec). The foundation comes first. The tube and the antenna follow (03 min 54 sec).
Before you learn how to draw A Submarine, did you know?
They say that wars are the biggest drivers of progress, and there’s a lot of truth behind that statement. If not for the world conflicts, humanity would’ve been considerably less technologically advanced than it is today. The submarines are a clear example of that. The unique thing about them is that they can operate deep under the water.
These sea vessels are usually pretty large and come with a big crew. The most sophisticated subs cost hundreds of millions of dollars (if not billions) and can take out entire cities with a single blow. Currently, Russia, the USA, and China have the biggest and the strongest underwater fleet on the planet, and they can destroy the world more than once.

