Learn How To Draw A Snake Quickly & Easily!
The best way to start this tutorial is with the lizard’s head (00 min 05 sec). It looks like a horizontal oval shape with some space in the left corner for the neck. The eyes sit on top of the head, with the left one being significantly bigger (00 min 10 sec). For the next step in this how to draw a Snake tutorial, use a long, S-like curve for the back (00 min 16 sec).
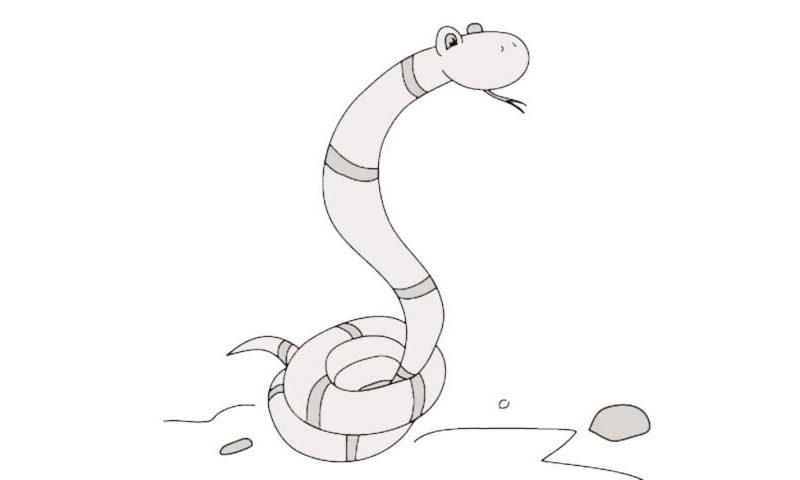
Since the snake is standing in an attack position, the bottom of its body is “curled up” (00 min 20 sec). Follow the guides in the video and make sure you get all the “circles” right (00 min 30 sec). Once that’s done, add another line that looks like an “S” to complete the body (00 min 38 sec). The tip of the tail is very simple and you’ll be done with it in a jiffy. If everything looks good, move back to the head, or, rather, the face.
In this stage of the how to draw a Snake tutorial, we’ll take care of the eye first (00 min 50 sec). The two dots in the far right corner are the nostrils. The tongue is cut in half at the end – don’t miss that in your drawing. The last thing to do is go over the composition and add those trademark “bands” all over the snake (01 min 00 sec). Finally, draw a couple of stones and lines for the ground.
Before you learn how to draw A Snake, did you know?
These ugly creatures are very dangerous, and some species can kill a human being in an instance with their venom. However, most of them are harmless and don’t have venom in their bodies, which means you shouldn’t be afraid of every snake you see.
But do be cautious, though. The species without venom usually swallow their victims and digest their bodies that way. These lizards can be found in pretty much every corner of the planet, except for Antarctica. Overall, there are more than 3600 species of snakes!
