Learn How to draw A Boxer Quickly & Easily!
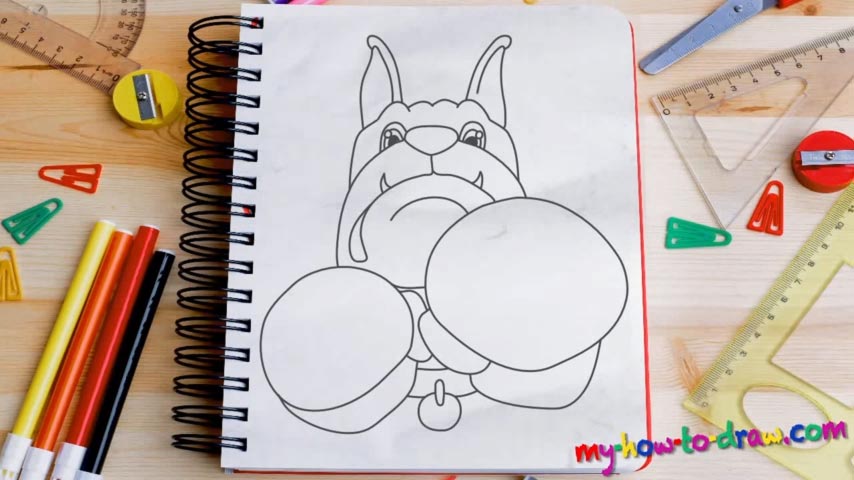
We begin this tricky tutorial with the right boxing glove (00 min 27 sec). Create a huge circle in the bottom left corner of the paper. See those two simple shapes on top of it? They are for the thumb and the rest of the hand (00 min 39 sec). Once they’re in place, add another circle (a smaller one) with the same curves right next to the original. That’s the intro to our how to draw a Boxer tutorial.
Now it’s time for us to move on to the next stage – the head (01 min 27 sec). Use the nose as the starting point and go from there. That pair of teeth will make every single rival out there realize that they’re dealing with a mean kind of a guy (01 min 52 sec). Everything that’s located below the nose sits nicely on three curvy lines of different lengths. Put them in first so that it’s easier for you to add all those details.
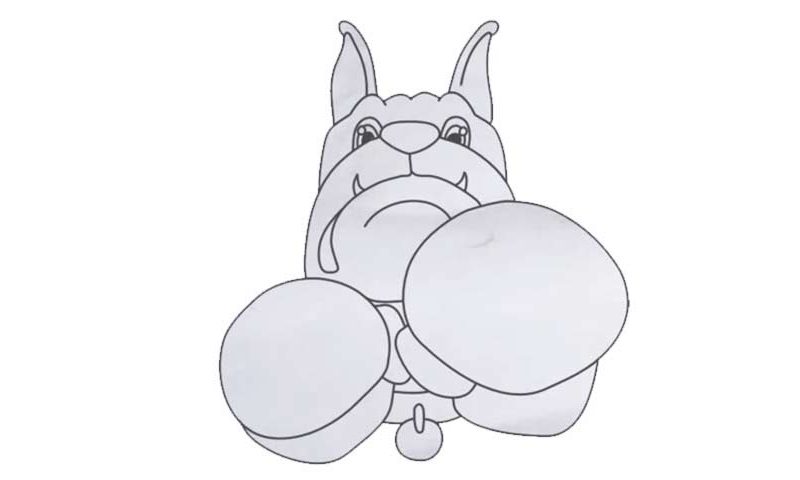
After you draw the identical eyes, the character will start to look a lot like a frog (02 min 27 sec). It’s ok, though because we’re going in the right direction. The final step of our how to draw a Boxer tutorial is the top of the head (02 min 45 sec). Use a zigzaggy line for the head itself and create a pair of ears right above it. They look 100% the same and will be really easy to draw. And that’s the last part of this guide!
Before you learn how to draw A Boxer, did you know?
In this composition, we tried to combine the two meanings behind the word “boxer” – a person who boxes and the famous dog breed. It looks pretty cool and will teach you a lot about drawing portraits and getting the angles right.
These mid-sized dogs are mainly being developed in Germany. Fast, strong, and with a powerful bite, they are perfect for hunting down prey and chasing after the criminals. The cops and the Spec Ops units really love boxers and use them in their missions.