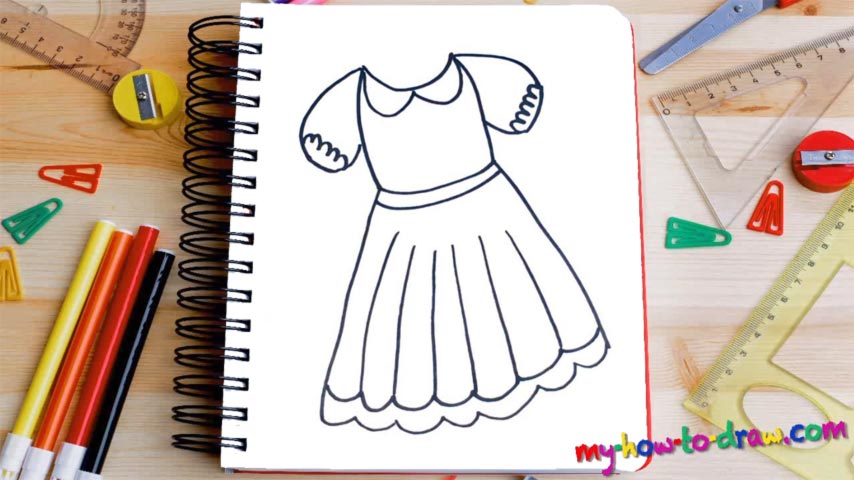
Learn How To Draw A Dress Quickly
We begin at the very top and make our way down from there. First things first, add the part in the middle that looks like a bulletproof vest of some sorts (00 min 07 sec). Once it’s in place, move on to the next step in this how to draw a Dress tutorial – the sleeves (00 min 22 sec). They look identical to each other and won’t cause you any trouble.
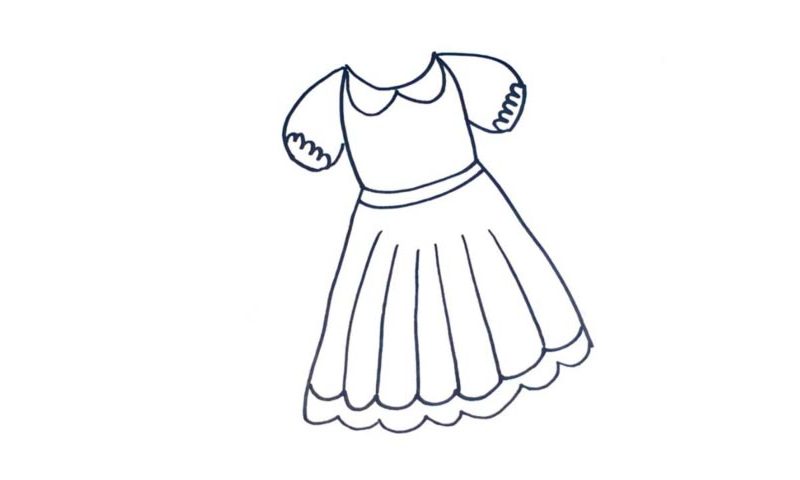
Before jumping to the lower parts of the clothing, don’t forget to follow the guide and add two curves just like you see in the video (00 min 47 sec). Ok, now we can (and should) create two vertical lines for the bottom of our beautiful dress. The belt in the middle comes first, though. The lines are pretty long and are connected to each other with a zigzag-like horizontal line (01 min 03 sec).
Create another one just like that above the original to complete this stage in the how to draw a Dress tutorial. Finally, go ahead and put in six vertical lines that cover almost most of the skirt (01 min 20 sec). They will make the dress look more realistic. You could, of course, spend even more time on this drawing and try to perfect it, but the end result here is quite alright!
Before you learn how to draw A Dress, did you know?
In the good old days, back when women didn’t have jumpers, blouses, and other beautiful outfits, a dress was pretty much the only thing a girl could wear. At the same time, with all these options available to the ladies in the 21st century, they still love their dresses.
This clothing is usually a one-piece garment; other times, it consists of two pieces – a skirt and a blouse/top. There are many different variations, including formal and informal ones. They became really popular in the 19th century and have been in huge demand ever since.