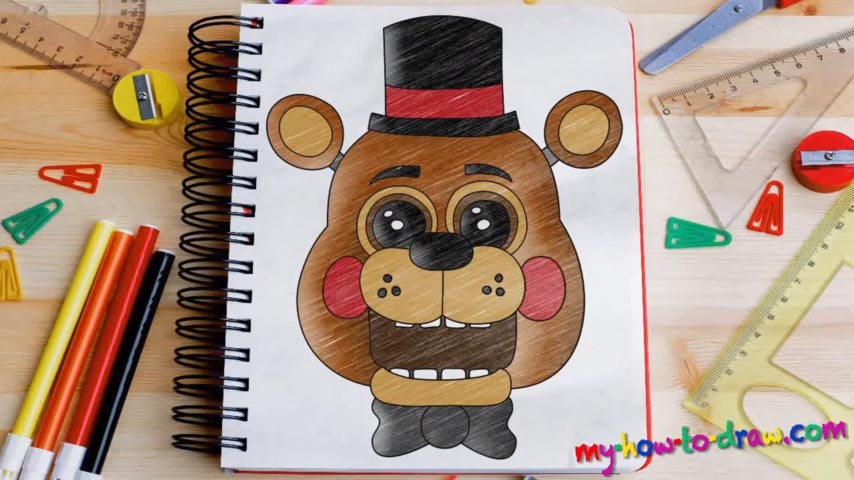
Learn How to draw Toy Freddy – FNAF Quickly & Easily!
The rough sketch in this tutorial takes almost all of the paper. At the same time, it’s not at all complicated. I also gotta say that if you want to learn how to draw Toy Freddy – FNAF but are a bit uncertain whether you’ll be able to pull it off, don’t be. Everything is straightforward and the video will guide you.
Begin with the animatronics’ head (00 min 35 sec). You’ll need two big curves to complete it. The nose and the mouth come next (01 min 00 sec). Draw a straight line and add two oval shapes on both sides. The hat and the ears are very simple (01 min 24 sec). Once you’re done with those, grab a marker or go with darker strokes on your pen.
The next stage of the how to draw Toy Freddy – FNAF tutorial should start with the nose (02 min 13 sec). Don’t forget to add those cute dots (02 min 38 sec). The eyes are pretty big and look identical (03 min 07 sec). Make sure to keep the proportions right when drawing the mouth (04 min 40 sec). And, add eight teeth in total before moving to the hat.
There’s nothing hard about the hat – it’s the easiest part of this how to draw Toy Freddy – FNAF manual. (05 min 31 sec). Simply follow the guidelines and make it look more majestic. The head should also be heavily based on the rough sketch (06 min 11 sec). Obviously, the curves should be smoother. The ears look like two identical mirrors, don’t they (06 min 31 sec)? Before moving on to coloring, draw the fancy bowtie (07 min 14 sec).
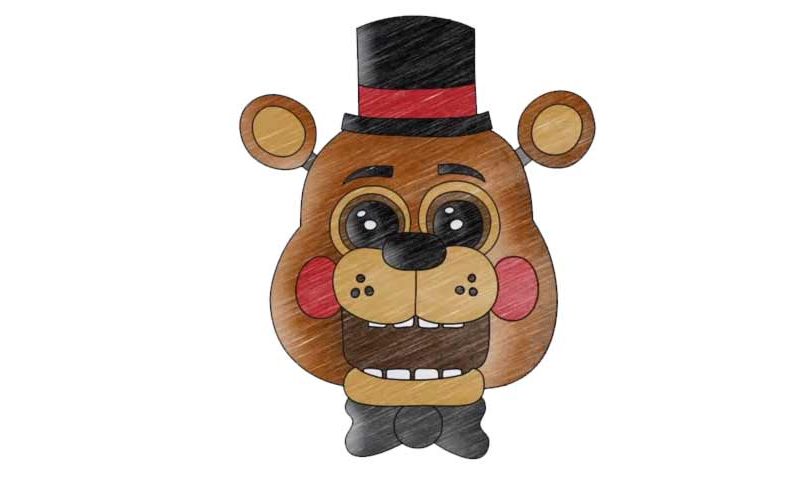
Before you learn how to draw Toy Freddy – FNAF, did you know?
This guy is very much active during the first two nights, unlike the majority of other animatronics. He walks around the place all the time and once he ends up in the Office, this character will go straight for you – the player. His cheeks are blushed and he actually looks like a normal toy.
But we all know what kind of thoughts are circling in this bear’s head. FNAF is an original game with an interesting setting and a gripping gameplay. If this is your first time hearing about it, go ahead and give it a try.