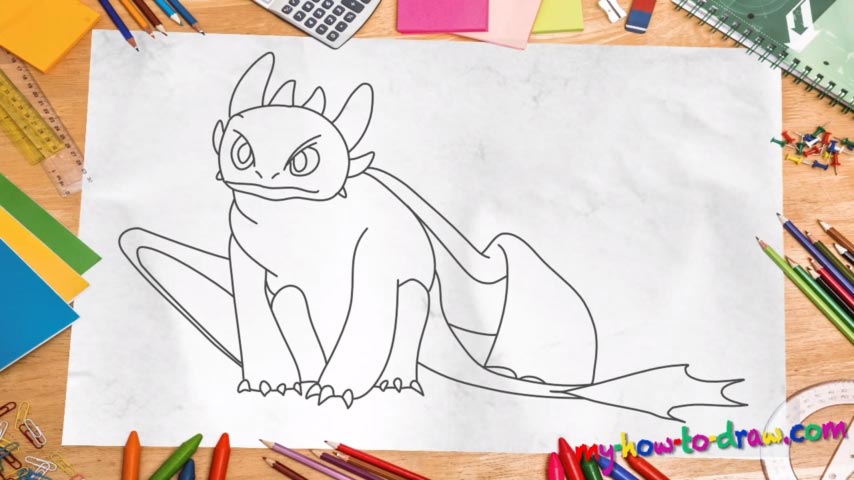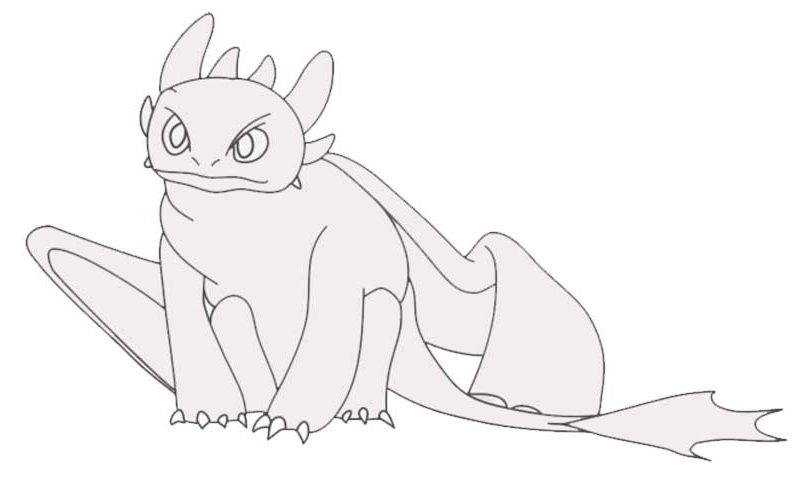
Learn How to draw Toothless Dragon Quickly & Easily!
This isn’t a scary dragon that will put the fear of God into your heart. With that said, try to keep the whole cartoony vibe going in this how to draw Toothless Dragon tutorial. See those bright, overzealous eyes (00 min 30 sec)? They are identical and take very little space on the paper. The nose is even more primitive: it consists of two lines right below the eyes that represent the nostrils.
And, as you could’ve already guessed from the title, this beast has no teeth; that is why one simple horizontal line is more than enough for the mouth (01 min 00 sec). The head is also pretty small and looks like a stone of some sorts. The spikes make it look really cool, though. The ones on the sides are tiny; the spikes on top are pretty huge (01 min 45 sec).
Ok, we’re done with the head. Now we get to the next stage in the how to draw Toothless Dragon guide. We see only the claws on three legs in this drawing. Use straight lines to define the legs and tiny claws at the very bottom (02 min 01 sec). Please pay attention to the fact that the leg in the left corner has four claws, while the other two have only three (02 min 32 sec). For the wings, use long, straight lines (03 min 12 sec). Let the video guide you.
Before you learn how to draw Toothless Dragon, did you know?
The How To Train Your Dragon franchise created a lot of buzz a couple of years ago when the first chapter was introduced. Rumors claim that Toothless is a creation of darkness, but, as it turned out, he is quite a lovely dragon (a 20-years-old guy) and a good friend.
He’s got the brains of a genius and loves to get into all kinds of adventures with the buddies. When it comes to his Viking mate, the beast is ready to do whatever it takes to keep him from harm’s way. Together with Hiccup, this dragon travels the world in search of the Greater Good.