Learn How to draw Tinkerbell Quickly & Easily
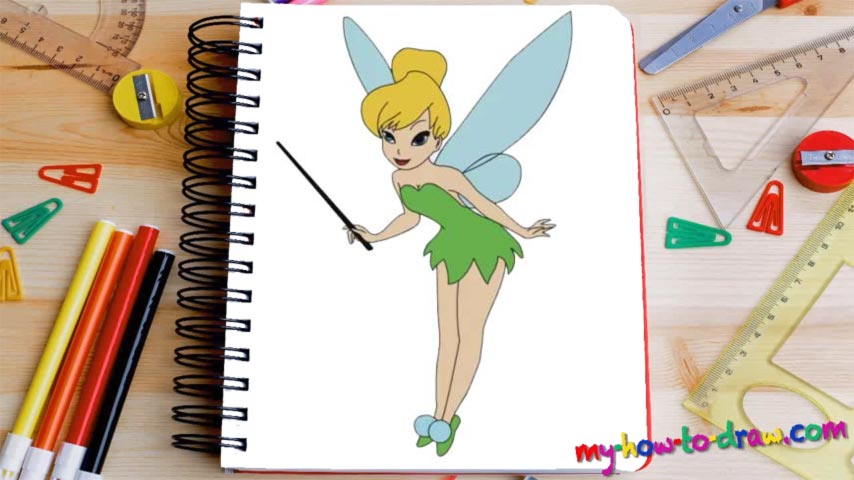
Peter Pan is one of the finest heroes from our childhood, and this adorable character is, without a doubt, a sight for sore eyes. So, let’s learn how to draw Tinkerbell right now, shall we? We begin with the hair (00 min 11 sec). Draw some simple curves as your guides and only then go ahead and add all the additional details.
If you’re happy with the hair, move on to the girl’s face (00 min 22 sec). Yes, I do know that the eyes are very big, but that only adds to her fairytale charm (00 min 30 sec). Now, you might think that the eyes are identical, but they’re actually not. The left eye is smaller and is more open than the right one. The nose is just a small curve; same goes for the mouth (00 min 50 sec).
Ok, now it’s time to handle the next stage of our how to draw Tinkerbell tutorial – the body (01 min 00 sec). Start with the right shoulder and go all the way down to the hand. She has very long and slim hands, and you should try to depict that in your drawing if you want the result to be identical to mine. Once you’re done, draw the left shoulder and arm (01 min 18 sec).
The girl is leaning forward, or, rather, bending, and it’s very important to get this part of the how to draw Tinkerbell guide right (01 min 59 sec). The dress is probably the easiest part of this how to draw Tinkerbell guide. The legs are also very intuitive; don’t forget about those gorgeous shoes, though ;). The final stage is her wings and that “stick” in her hand (02 min 42 sec).
When it comes to coloring, you can use whatever color combinations work for you. Green looks good on our heroine but so does, say, red. Experiment for a while until you come up with some truly awesome mixes.
Before you learn how to draw Tinkerbell, did you know?
This fragile and beautiful young lady is something of a symbol for Disney. She’s kind-hearted and always wants to help. She’s featured in numerous animated movies and big-screen adaptations, not to mention countless books for the kids.