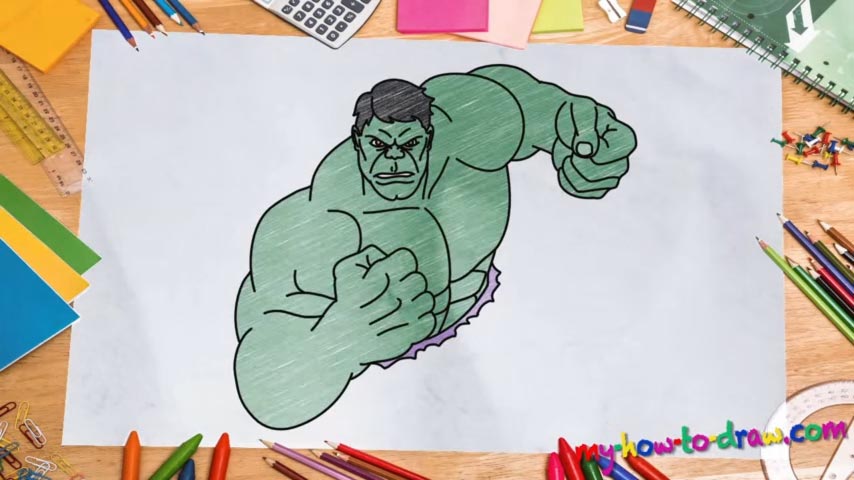
Learn How To Draw Incredible Hulk Quickly & Easily!
With this superhero, you only have to worry about two things: his face needs to be angry, and his muscles need to be big. Usually, we’d learn how to draw Incredible Hulk by starting with a so-called rough sketch. But in this case, we can make do without it. We begin with the eyes, or, rather, the frown (00 min 25 sec). The nose and the mouth follow (00 min 45 sec).
The trick is to place the various facial features pretty close to each other. Once those are done, move on to the ears (01 min 19 sec). Nothing hard about those. Just create two almost-identical curvy lines and you’re done. Now, even though this guy is pretty big, he’s also quite agile, which means the lines need to be smooth, not rough. Keep that in mind while drawing the jaw.
Alright, now it’s time to move on to the next part of our how to draw Incredible Hulk tutorial – the hair (02 min 00 sec). It’s actually pretty easy: you’ll need three zigzaggy lines that will imitate the simple-yet-effective hair on the beast’s head. Once that’s done, we’ll get to the body (02 min 37 sec). As mentioned in the beginning, the muscles need to be huge.
Some basic knowledge of anatomy would help, but you’ll get it right if you just follow our video :). Try to accentuate every muscle with those curvy lines and make sure that the fist on his left hand is bigger than his head (03 min 08 sec). Same goes for the right one. The body is easy – just a couple of lines to imitate the chest and the six-pack (04 min 55 sec).
Before you learn how to draw Incredible Hulk, did you know?
This big, scary, green dude needs no introductions: he’s a genius professor who uses his brain to solve the toughest riddles of science. At the same time, when he gets angry and “the other guy” takes over, Bruce turns into a violent beast capable of taking down entire armies.