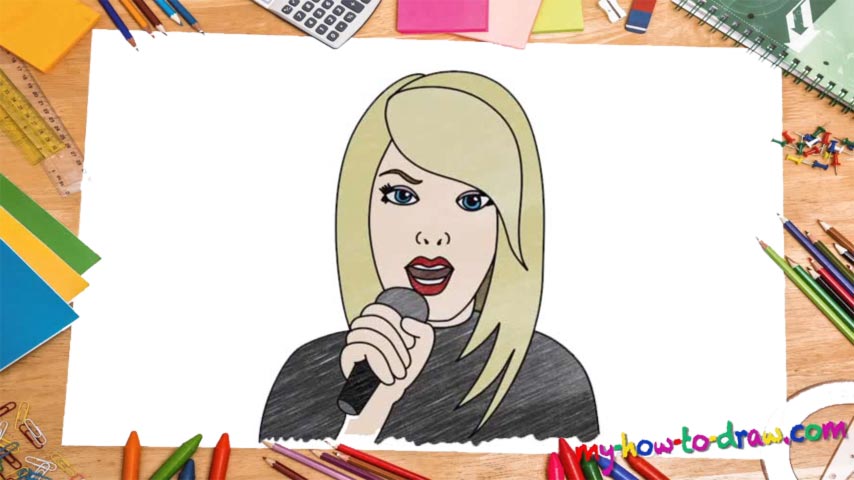
Learn How to Draw Taylor Swift Quickly & Easily!
Before we begin, you’ll need to put your paper in the same orientation as I did and begin drawing at the exact spot. That way, you’ll always be on point and won’t run out of paper. Ok, if you want to learn how to draw Taylor Swift – the gifted singer – stick with me! As always, we start with putting some rough lines in to help us get everything right (00 min 12 sec).
Don’t forget to use only light strokes so that it’s easier to delete these guides once you’re done. You don’t have to draw the lines in one go: do as many strokes as needed to get it right. Draw an oval shape and “cut” it with three curves like I did (00 min 37 sec). The straight horizontal and vertical lines will help you with the facial features; the curvy one defines the position of her hair.
If you’re happy with the singer’s head, move on to the next stage in this how to draw Taylor Swift tutorial – the mike (01 min 07 sec). Draw a tiny circle in the bottom left corner that overlaps with the big oval. Next, put some rough lines to imitate the rest of the microphone and her fingers wrapped around it. Ok, now we’re officially done with the sketch.
Switch to regular strokes and draw the mouth (02 min 07 sec). Curvy, S-like lines are what you’ll need to make it look realistic. The nose is very minimalistic and consists of two dots and two small curves on both sides (02 min 40 sec). The next step would be to use the line we drew in the beginning for Taylor’s hair. The left eye should start right where the curvy line crosses paths with the horizontal one (03 min 05 sec).
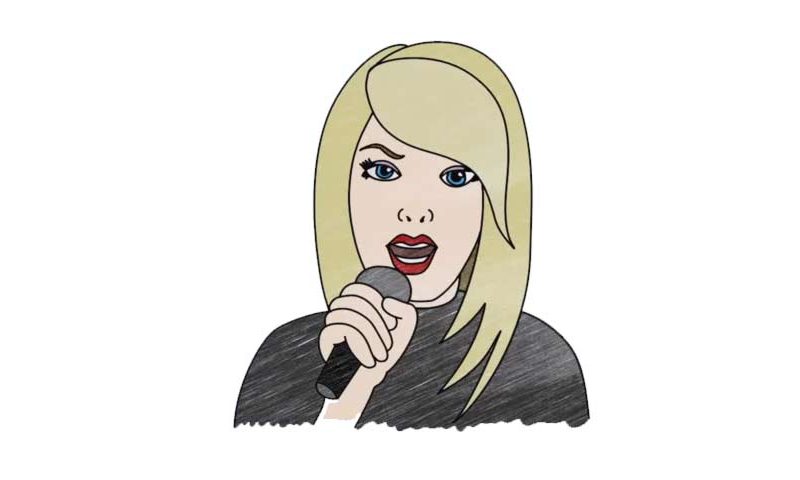
The right eye is almost an exact copy; don’t forget to add eyebrows on both (04 min 15 sec). The hand and the microphone will be a piece of cake, thanks to the rough guides (04 min 25 sec). The hair is the final step in this how to draw Taylor Swift tutorial (05 min 25 sec). Just follow the video and bring it home! If you like our colors, stick with them. If not, experiment with the color of her sweater and the makeup. And, erase the guides (06 min 20 sec).
Before you learn how to draw Taylor Swift, did you know?
Taylor’s debut single was the light of day back in 2006 and was quickly followed by the singer’s debut album. The sophomore LP hit the shelves two years later and became an international hit. As for the awards, Taylor won the Grammy for the greatest album of 2008.
Today, this beautiful and gifted artist is a global icon and a role model for countless teenage girls all over the world. Now go ahead and learn how to draw Taylor Swift for yourself by following the simple steps in this video.