Learn How to Draw Sophia Grace & Rosie Quickly & Easily!
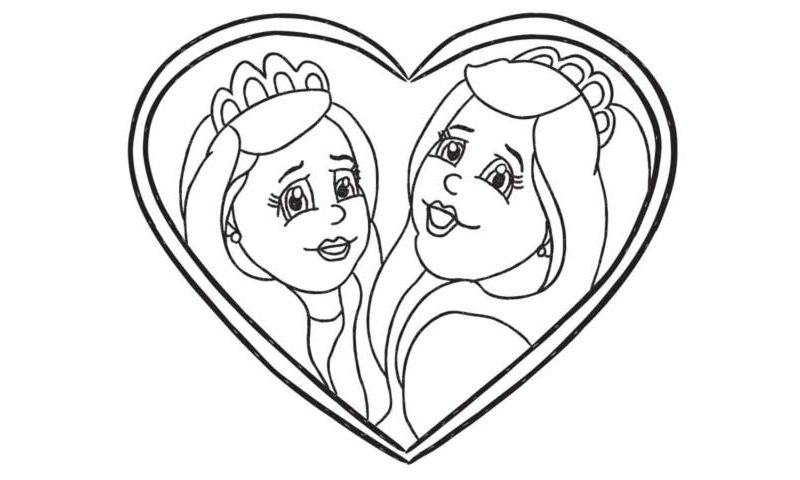
Start with the huge heart (00 min 12 sec). It would be wise to split it in half and draw it in two steps. After that, put another heart that’s almost the same size inside the first one (00 min 30 sec). The next step would be to make two ovals for the ladies’ heads and some guiding curves (00 min 37 sec). That will be the entry to our how to draw Sophia Grace & Rosie tutorial.
It’s basically two ovals of equal size (but the right one is located a bit higher) with two guiding curves in them. If you’re all done with that part, move on to drawing the beauty on the right (01 min 16 sec). The eyes should be positioned right on top of the horizontal curves. The nose and the mouth are a piece of cake (03 min 26 sec). Then, take care of the hair (04 min 01 sec).
Don’t worry – it’s just a combination of S-like curves. If you’re happy with those, use the guiding oval to finish the girl’s face and move on to the lady on the left (06 min 01 sec). This part of the how to draw Sophia Grace & Rosie tutorial is almost an exact copy of the first one. Begin with the beautiful eyes and proceed with the nose and the mouth.
The only difference – the mouth is a bit smaller (08 min 26 sec). The hair looks the same and won’t be hard to get it right (09 min16 sec). If you’re satisfied with the drawing, use a marker to erase the guidelines you made in the beginning (11 min 00 sec).
Before you learn how to draw Sophia Grace & Rosie, did you know?
Did you know that “Super Bass” was the very 1st tune covered by these lovely ladies? Yep, and it was put on the Internet back in 2011. A month later, they got a chance to perform it at the world-famous The Ellen Show.
Soon after that, the twins turned into international superstars. They’ve got their own style and amazing voices. Now go ahead and learn how to draw Sophia Grace & Rosie for yourself by following the simple steps in this video.