Learn How To Draw Funny Faces Quickly & Easily!
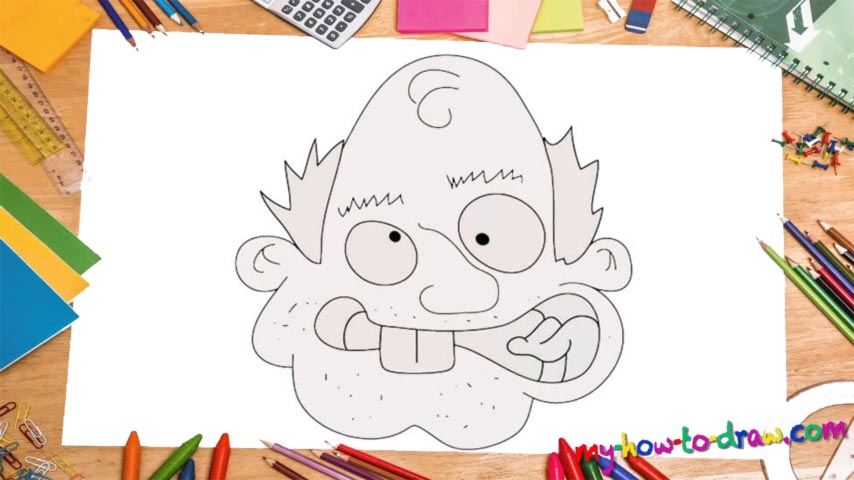
You could think that with a chaotic drawing like this one, you won’t have to worry about the accuracy of the shapes, but that’s not really the case. Even chaos needs order :). So, in this how to draw Funny Faces tutorial, we’ll be conscious about our lines and try to keep the proportions right. The nose is one long curve that looks a bit like a hook (00 min 05 sec). The eyes sit on both sides of it, and the right one is considerably bigger.
Our character has some hair located on the same level as the eyes (00 min 08 sec). Don’t make the hair identical – introduce some differences. The top of the head looks like some sort of an egg. The lower part and the jaw, on the other hand, are a bit “deformed”, giving our hero that unique look (00 min 16 sec). The eyebrows consist of zigzag-like lines that just cover the top of the yes.
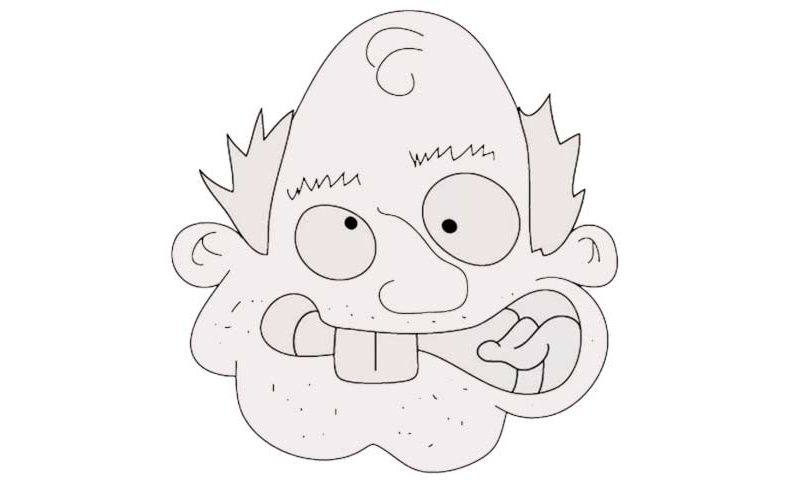
The left ear is bigger; our friend has only one tooth. The shape of the mouth looks like a bone from a dog’s dream (00 min 29 sec). The final parts of the how to draw Funny Faces follow (00 min 30 sec). Those include the pupils that make the guy look like a psycho, the hair on top of his head, and, of course, the tongue (00 min 45 sec). Once you put all those features in, you’ll be done with this guide!
Before you learn how to draw Funny Faces, did you know?
We all love to fool around sometimes and act a bit crazy. That’s true both for the kids and the adults. In this particular tutorial, we went for something that’s equally funny and educational. That means you’ll obtain some valuable skills after you go through with it.
Everything’s out in order in this drawing: the facial features aren’t “solid”. Furthermore, the mouth looks like a total disaster and the eyes are all kinds of ridiculous. But that’s the beauty of it. So, let’s get right to it and see whether you can handle it or not!