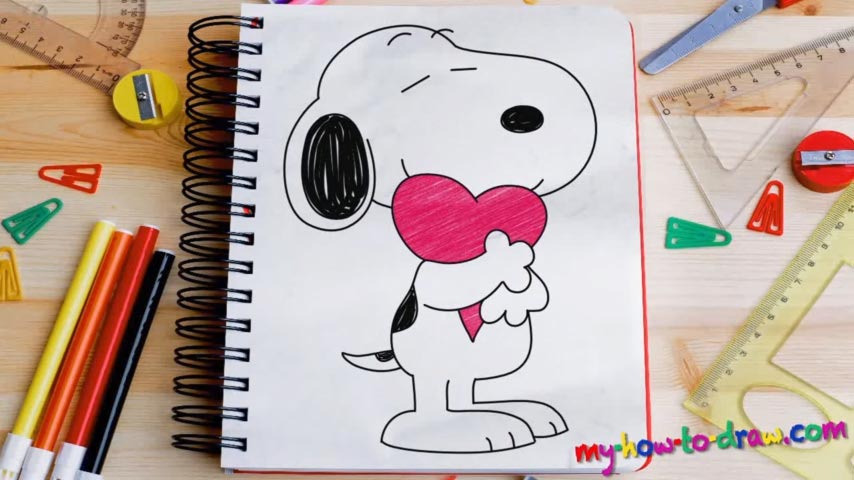
Learn How to draw Snoopy With Love Heart Quickly & Easily!
Even though this is a relatively simple drawing, we’ll still need to “follow the textbook” and do everything right. That means before we get to the meat and potatoes of this how to draw Snoopy with love heart tutorial, we’ll need to lay out the rough sketch first. It’s not a time-consuming procedure, but will still require some basic skills.
Begin with that huge circle in the upper left corner (00 min 38 sec). That’s going to be the foundation for the dog’s head. Next, define the nose, the ear, and move on to the rest of the body. That tiny circle right below the head is the heart (01 min 14 sec). The rest is the body and the legs. Happy with what you’ve got so far?
Then let’s finish up with the guidelines and get going with the how to draw Snoopy with love heart tutorial. The clean drawing starts with the doggy’s hands holding the pink heart (02 min 29 sec). Next, take care of the lower body and the legs (03 min 05 sec). This is a very simple composition and you won’t have any problems with it.
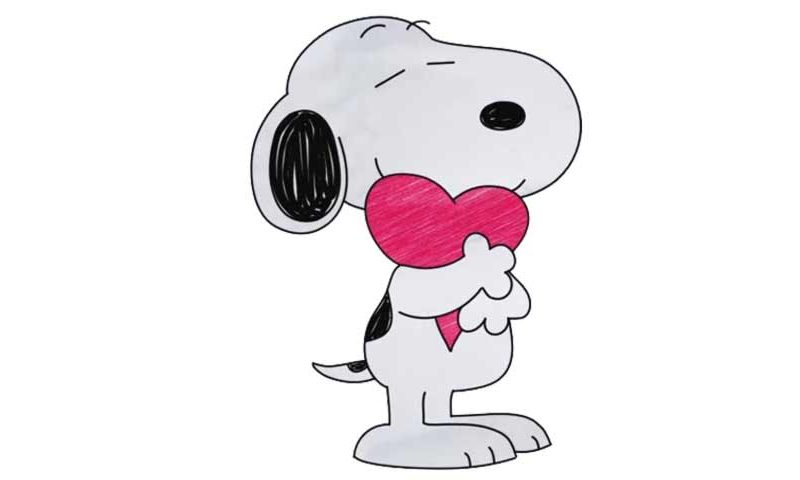
Once the tail is in place, create the big heart in Snoopy’s hands (03 min 41 sec). All done with that? Then it’s time to move to the head – the ear, to be exact (03 min 57 sec). Both the ear and the head basically go over the rough sketch we drew in the beginning. The nose is cute, and the easiest part of this how to draw Snoopy with love heart guide (04 min 13 sec).
The eyes are just 2 curvy lines; same goes for the eyebrows. Before you finish this drawing, color the ear, the nose, and the tail black (04 min 37 sec).
Before you learn how to draw Snoopy With Love Heart, did you know?
If you’re a fan of old-school cartoons, this funny and adorable doggy might be one of your favorite characters. They say, Snoop Dogg, the legendary rapper, was nicknamed by his mom after this overachieving puppy.