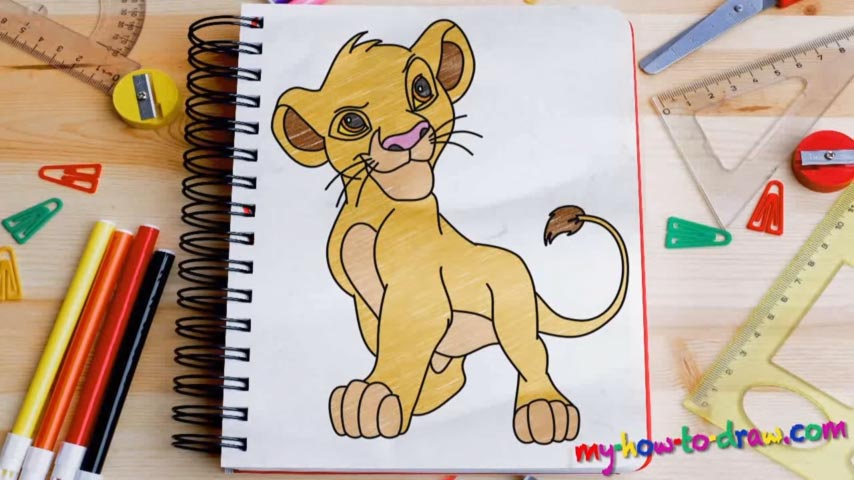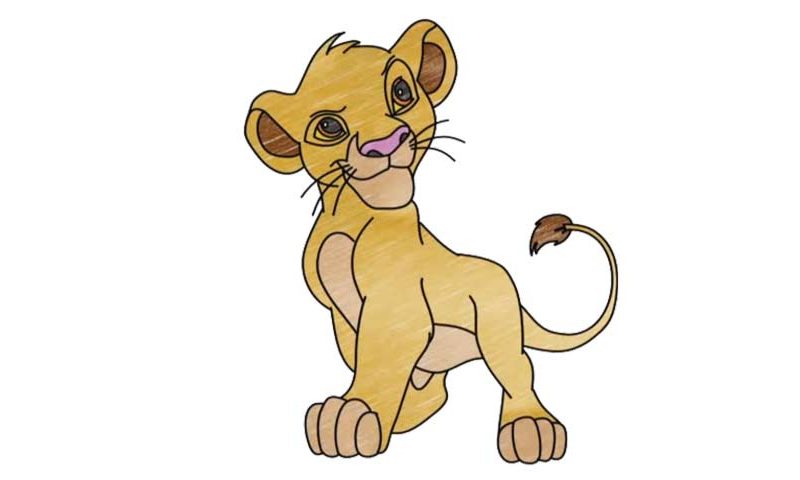
Learn How to draw Simba Quickly & Easily!
We begin this tutorial with the lion’s nose (00 min 31 sec). You’ll need one smooth curvy shape, another one inside and two dots for the nostrils. The next step of our how to draw Simba tutorial are, of course, the eyes (00 min 58 sec). Please pay attention to the fact that even though they look almost the same, the right one is a lot “taller”. That allows us to create a certain expression on the character’s face.
The next stage is the mouth and the lower part of the head (02 min 30 sec). Use a series of curves to create that noble face that we’ve known since childhood and move on to the hair. You’ll need three zigzaggy lines for this (03 min 13 sec). Once you put the ears exactly where they belong, you’ll be done with the head (03 min 43 sec). Make sure they’re nice and big as opposed to the tiny versions we see in some modern-day drawings.
The wrinkles will complete the picture – you’ve got 6 in total (04 min 24 sec). The next stage in this how to draw Simba tutorial might require more than a few tries before you nail it. Follow our video guide closely and be smooth with the curves. If you’re happy with the front leg, the rest will be a lot easier, as it will serve as some sort of a “compass”.
The leg in the back looks almost the same, except it’s a bit thinner. Connect these two with each other using a series of primitive lines and you’ll pretty much be done with this tutorial! Oh, wait – don’t forget about that tail (06 min 20 sec). Some would argue that it’s the most important part. Two curvy C-like lines are all you’ll need for this.
Before you learn how to draw Simba, did you know?
The Lion King is, and always will be an iconic cartoon. It’s heart-warming, heart-wrenching, and educational for the kids. As for Simba, he’s the main character of the story. He’s a kind, caring and loving little lion who’s destined to rule an entire kingdom left to him by his father.