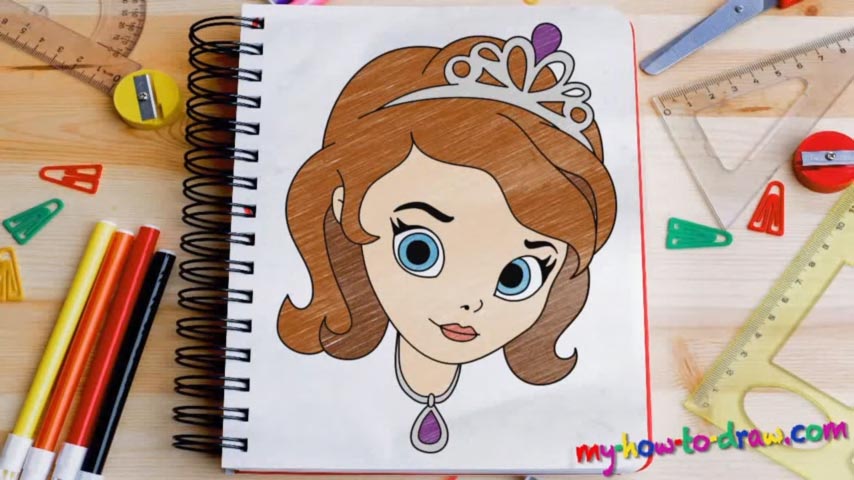
Learn How to draw Princess Sofia Quickly & Easily
She doesn’t have royal blood rushing through her veins, but she does have a very kind heart. This young woman is capable of love, care, and compassion, and today you’ll learn how to draw Princess Sofia. We won’t make it far without some proper guidelines, and that is why they always come first (00 min 37 sec). Start with that big oval shape in the right corner of the paper.
That’s going to be the head. Two lines – one horizontal, one vertical – will divide this shape into four parts and serve as a guide for our facial features (00 min 49 sec). The rest of the rough sketch has to do with the hair and that cute crown on her head. That’s it for the intro. Now let’s use a marker for the rest of this how to draw Princess Sofia tutorial.
We recommend starting with the right eye and gradually moving to the left one (01 min 56 sec). The great thing about them – they’re identical. Don’t forget: we’re drawing a princess, and the eyes should be pretty big. Once you’re happy with them, draw the tiny nose that’s basically made up of two curvy lines (03 min 41 sec).
Move on to the head but wait until you’re done with the mouth to move on to the hair (04 min 22 sec). It might look that her haircut is incredibly sophisticated, but it’s actually not (04 min 47 sec). Simply follow the video and put the curvy shapes where they belong.
Before you learn how to draw Princess Sofia, did you know?
This well-mannered young lady wasn’t born a princess: after her mom tied the knot with the king, she automatically became royalty. At first, it was difficult for her to adjust to this new way of living, but Sofia eventually made sense of it all and became the king’s favorite stepdaughter.