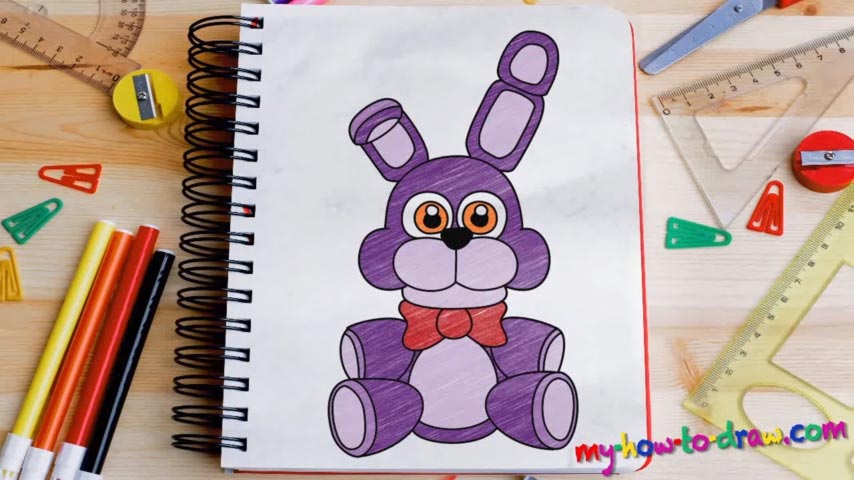
Learn How to Draw Plush Bonnie – FNAF Quickly & Easily!
First thing’s first, make sure to place the paper exactly the way I did. And, put your initial strokes roughly around the same spot as I. This is very important and will allow you to stay within the limits. The next stage of our how to draw Plush Bonnie – FNAF tutorial are the rough sketches (00 min 37 sec). We’ll need them to guide us.
You can either put your skills to good use and draw all the guidelines in one go or, you can make several strokes in a rapid manner to get the shapes needed. Whichever way works for you is fine. That oval shape in the middle is our hero’s head. The mouth comes next (00 min 43 sec). The half circles at the bottom left and right of the head don’t have to be very smooth and round because these are the rough sketches (01 min 00 sec).
The rest is just more oval shapes and two “antennas” on top of the character’s head. That’s it for the intro to the how to draw Plush Bonnie – FNAF tutorial. Now we move on to the real thing. Begin with the nose right about the guides for the mouth (02 min 09 sec). It’s just a simple shape. The eyes, in turn, are a combination of four circles of different sizes (02 min 47 sec).
We recommend drawing the right one first; once you’re done with it, the right eye will be a walk in the part (because they’re identical). What you should do next is use regular strokes on the sketches for the head (04 min 01 sec). Remember that antenna? That’s actually the ears. Take care of it to make Plush look like the real deal (04 min 20 sec).
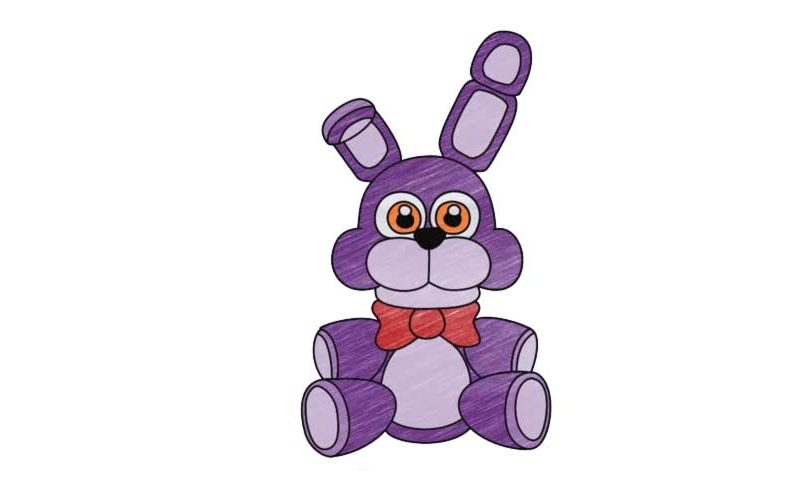
The body is the final stage in the how to draw Plush Bonnie – FNAF manual. Place the bowtie right below the head (05 min 45 sec). The hands and legs are super-easy: just follow the video and bring it home! At the very end, get rid of the light strokes and paint the character whichever way you want.
Before you learn how to draw Plush Bonnie – FNAF, did you know?
This fine-looking rabbit with magnetic eyes will give you chills every single time you look at it. His ears can bend and it makes him even creepier. His teeth are round, and he always travels with his trusty guitar.