Learn How to draw Motorcycles Quickly & Easily!
We all like bikes, because they’re so damn cool, aren’t they? In this how to draw motorcycles tutorial, you’ll learn all the ins and outs of creating a gorgeous “steel horse” on a piece of paper. This is a sketchy piece, which means you don’t have to be precise about your lines and circles. As a matter of fact, you should be a bit chaotic with them.
So, first of all, draw a horizontal line(s) to define the ground. Next, create a series of circles that will help you further down the road (00 min 17 sec). It’s not that easy to draw when you’ve got no guiding lines. Once you’ve placed three at the bottom, make two more on top of the left and the right circles (00 min 30 sec). Again, nothing fancy.
All done with that? Good, now create a straight horizontal line between the upper shapes and one much shorter inside the circle at the bottom left corner (00 min 40 sec). Connect those lines with a straight “arrow” to define the main body of your bike. After you draw another horizontal line at the bottom, you’ll get some sort of a “zigzag”.
The rest of the how to draw motorcycles tutorial is easy. It involves adding more details and perfecting the various shapes. And while these sharp lines are here to stay, you should tweak them and make even sharper to accentuate the beauty of this bike (01 min 36 sec). I bet you figured out that the bottom circles are the tires in this how to draw a motorcycle tutorial.
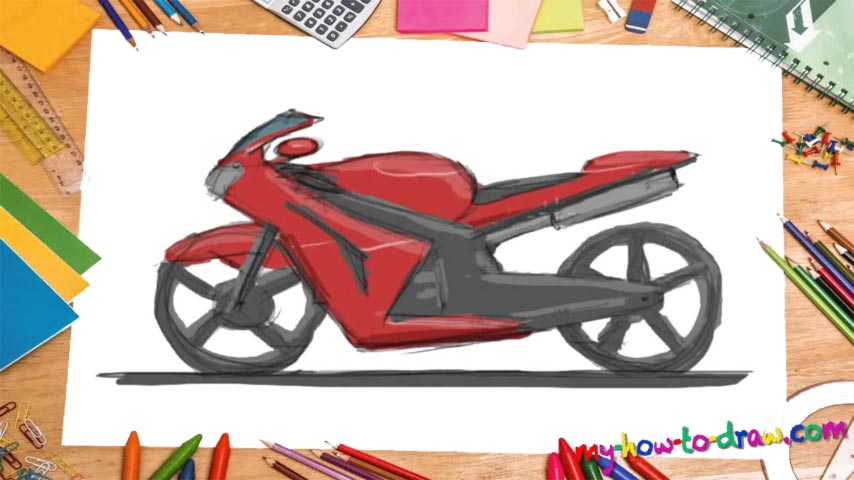
Well, go ahead and introduce new details (03 min 04 sec). If you’re happy with what you’ve got so far, arm yourself with a marker and get rid of all the light strokes left behind (03 min 43 sec). The last step includes using a brush and painting (04 min 13 sec). Use a greyer tone to make it look 3-dimensional. Red should be your color of choice for the body (04 min 41 sec).
Before you learn how to draw Motorcycles, did you know?
Every man out there dreams of owning a sports bike like that one. Nothing says young, wild and free better than a steel monster like the one we just drew. Perfect your skills and take your time with it. This is actually quite a sophisticated drawing that demands dedication.