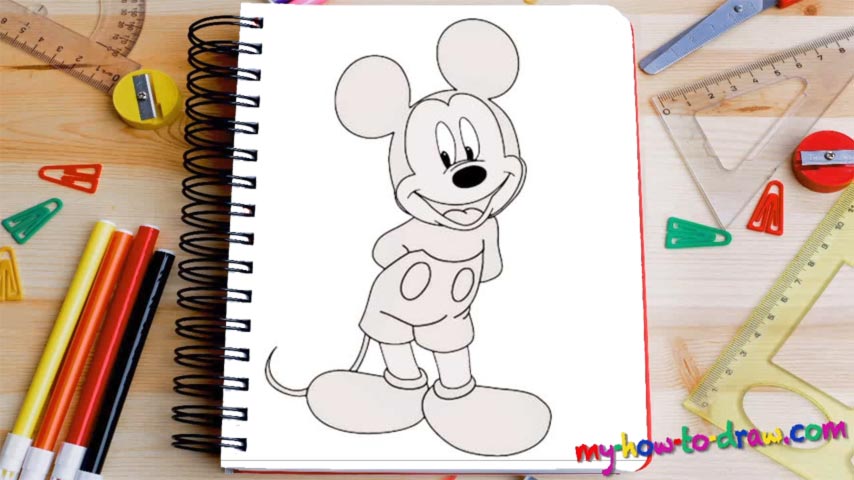
Learn How To Draw Mickey Mouse Quickly & Easily
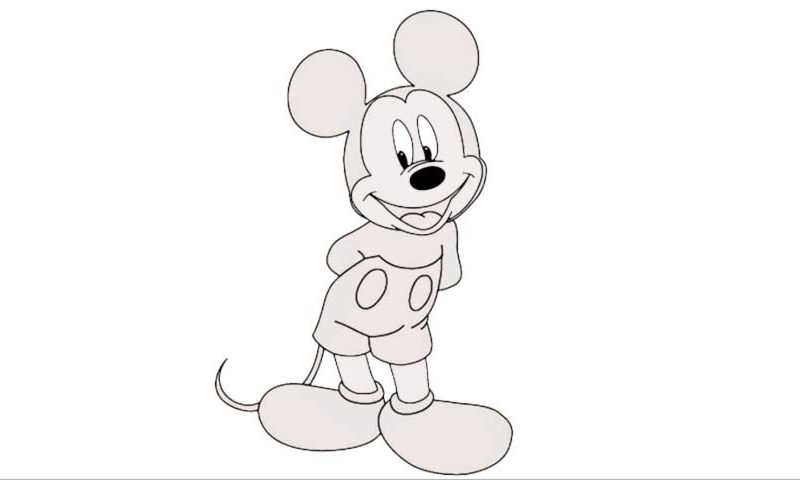
The nose is the first thing we’ll create in this tutorial (00 min 04 sec). The eyes on top of it and the classic cartoon face will follow (00 min 12 sec). If you really want to learn how to draw Mickey Mouse, then you’ll have to put the pupils in, add the mouth at the bottom and never forget about the ears (00 min 16 sec). They are nice and big and are located on top of the head – on both ends.
The mouth is not done yet: add the lower part and the tongue before drawing those tiny curves at the tips to make the smile look more realistic (00 min 22 sec). Ok, we’re done with the head for now – let’s move on to the body (00 min 28 sec). As you can see, both Mickey’s hands are behind his back, and he’s got fancy shorts on with two huge ovals on them (00 min 35 sec).
As is almost always the case in cartoons, his legs are short, while the feet and the shoes are pretty huge (00 min 48 sec). They are the most in-your-face part of this how to draw Mickey Mouse tutorial. The last thing to do before claiming you’ve mastered this guide is, of course, the hero’s tail (01 min 02 sec). Ok, now you can officially say you’re a pro!
Before you learn how to draw Mickey Mouse, did you know?
Back in the day, when we didn’t have the Transformers, the Spiderman, and all the other modern-day superheroes, Mickey used to be a crowd favorite. Funny, full of life and hidden talents, this mouse conquered the world back in 1928 in Plane Crazy.
From that moment on, he went on to become one of the most iconic on-screen characters in history. With 130+ features behind his back, Mickey is, without a doubt, a modern-day icon, especially to those folks that were young during the 30s and the 40s.