Learn How To Draw Maggie Simpson Quickly & Easily
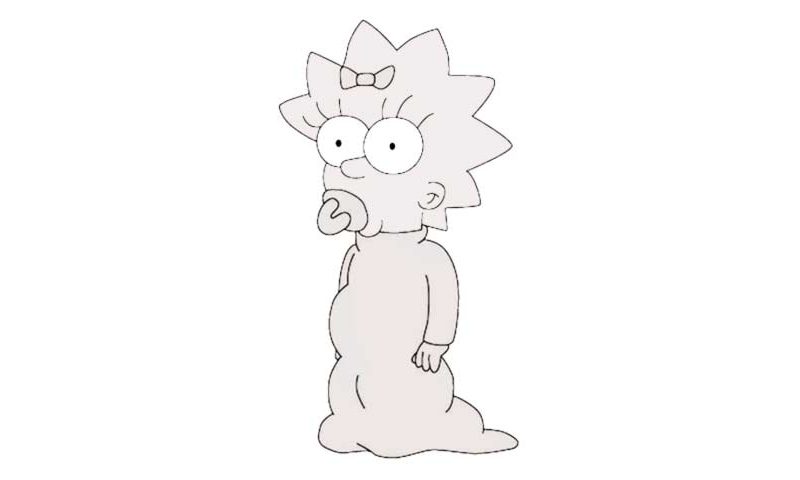
Start with the nose (00 min 04 sec). As you can see, the eyes sit right on top of it (00 min 08 sec). You’ll need two big perfect circles at this stage of the how to draw Maggie Simpson tutorial. The next step includes the pacifier, the right ear and a tiny part of her bow (00 min 12 sec). After you put all those elements in, you’ll create a perspective for yourself and make things easier.
Keep working on the details and add the eyebrows (00 min 16 sec). You’ve got three on top of each eye. Most of the character’s head is covered in zigzags (00 min 25 sec). Overall, there are eight “stars”, and they’re pretty much identical. If everything’s looking good, move on to the body (00 min 32 sec). It’s the easiest part of this how to draw Maggie Simpson tutorial and you’ll be done with it in a matter of seconds.
We can only see her right hand and four of the fingers (00 min 48 sec). The dress is nice and lovely and comes with absolutely no details. The final things you’ll need to add before saying goodbye are the tiny pupils in the middle of the eyes (00 min 56 sec). If something feels out of the order, don’t be afraid to go back and fix it. That way, you’ll truly master this video guide.
Before you learn how to draw Maggie Simpson, did you know?
As the youngest kid in the Simpson family, Maggie has always been the favorite. She’s got a brother and a sister that are supposed to take care of her. The girl almost never lets go of her pacifier and constantly trips over her clothes and falls down hitting her face.
Even though she’s just a baby and can’t speak yet, this girlie has more than one way to express her feelings, which makes her quite an intriguing character. Still, while the entire family is focused on the “adult” problems, she feels kinda distant and struggles with getting heard.
