Learn How to draw Leaves Quickly & Easily!
Autumn always looks great on a piece of paper and creates a very special atmosphere. And probably nothing’s more melancholic than the beautiful autumn leaves. In this post, we’ll try to learn how to draw leaves from scratch. Stick with us and you’ll embrace yet another awesome technique and gather some tips along the way.
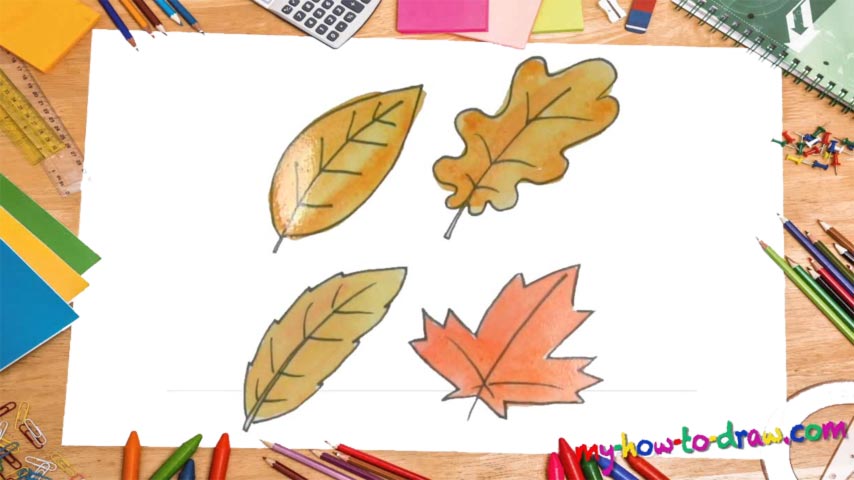
We begin at the left corner of the paper (00 min 05 sec). Remember: these shapes are very simple and won’t take countless tries before you finally master them. All it’s going to take to draw the leave on the left are three curves: the one we just did and two more that “hug” it from both sides. The next step includes adding 4 “V” shapes to make the drawing more realistic (00 min 20 sec).
If you’re happy with that, let’s handle the second leaf. The first curve is practically identical (00 min 35 sec). This is an oak-tree leaf, and it’s a lot curvier than the first one (or the other ones, for that matter). Follow the guidelines in the video and bring this home. Again, you’ll need those “V” shapes on the inside – make em 3 instead of 4 and leave a bigger gap (00 min 59 sec).
And now we move on to the next step of this how to draw leaves tutorial. The third one looks a lot like the first leaf. But instead of drawing smooth curves, make your lines serrated (01 min 15 sec). The “V” signs come next (4 in total). Ok, ready to proceed to the last one? Let’s do it!
Start this one a bit further away from the rest (01 min 37 sec). This is going to be a maple leaf, AKA bigger than the rest. Draw a curve in the middle like with others. The next step includes a lot of zigzags that make the leaf look like a star (01 min 47 sec). Add the “V” shapes and you’ll be done (02 min 18 sec)! As far as coloring goes, use my combination for a maximum effect.
Before you learn how to draw Leaves, did you know?
Autumn is upon us, and it’s time to get into that mood. As you can see now, it’s super-easy to draw and paint the leaves. They represent the very essence of this time of year. If you’ve got some other leaves in mind, go ahead and experiment.