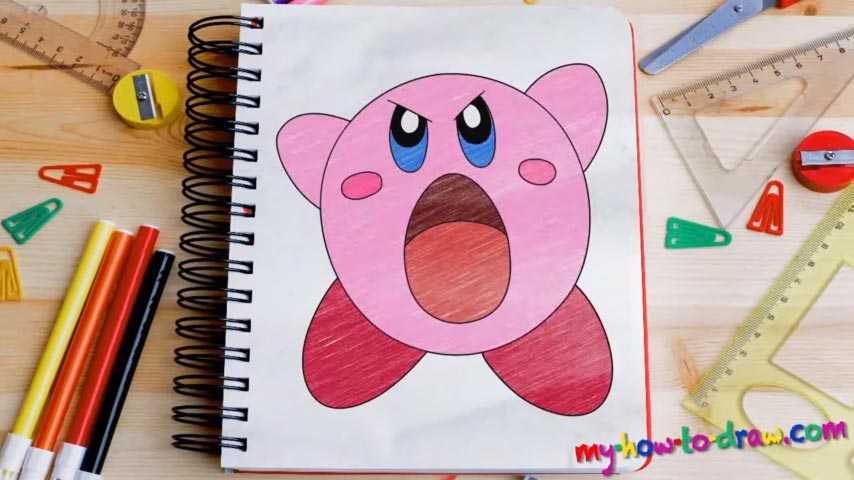
Learn How to draw Kirby Quickly & Easily!
If you’re struggling with the other tutorials on our website, you can go ahead and try your luck with this one. It is extremely simple and still looks great, not to mention you’ll acquire some basic skills for the rest of the videos. Begin this how to draw Kirby guide with drawing a sketch (00 min 36 sec).
That huge tilted circle that takes up most of the space on the paper represents the body of our character. The classic two lines on top of it will be very helpful when you get to the facial features. As for the four curvy lines around the circle, they represent the hands and the legs (00 min 58 sec). Ok, now that the introduction to our how to draw Kirby tutorial is over, let’s get to drawing!
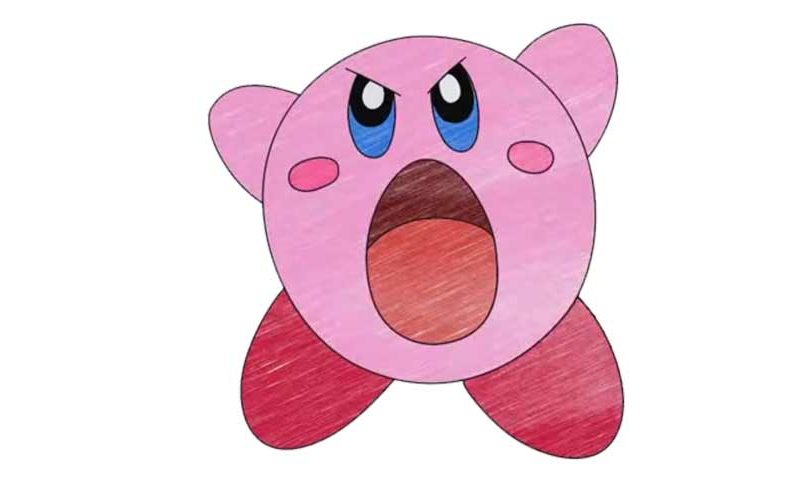
As always, the eyes come first (01 min 39 sec). Use those straight lines to accentuate the aggression in Kirby’s stance. Each eye consists of three oval shapes. The mouth comes next (02 min 19 sec). Just draw an oval shape that looks like an egg and divide it in two with a horizontal curve (02 min 30 sec).
The next steps include going over the rough circle to complete the head and drawing the cheeks. If you’re happy with that, then it’s time to finish this how to draw Kirby tutorial with the legs and the hands (02 min 47 sec). Make sure to get the positions and the sizes right.
Before you learn how to draw Kirby, did you know?
He’s the lead character of the Nintendo game called – yep, you guessed it – Kirby. He’s considered to be one of the most original and famous heroes in video games. This spherical fella can copy the powers and abilities of his enemies, which makes him quite unique.
Kirby first saw the light of day back in 1992 and is still loved and cherished by the fans of old-school gaming. Overall, there are 20+ games dedicated to this character. Plus, there are numerous comic books that he’s featured in.