Learn How to draw Homer Simpson Quickly & Easily!
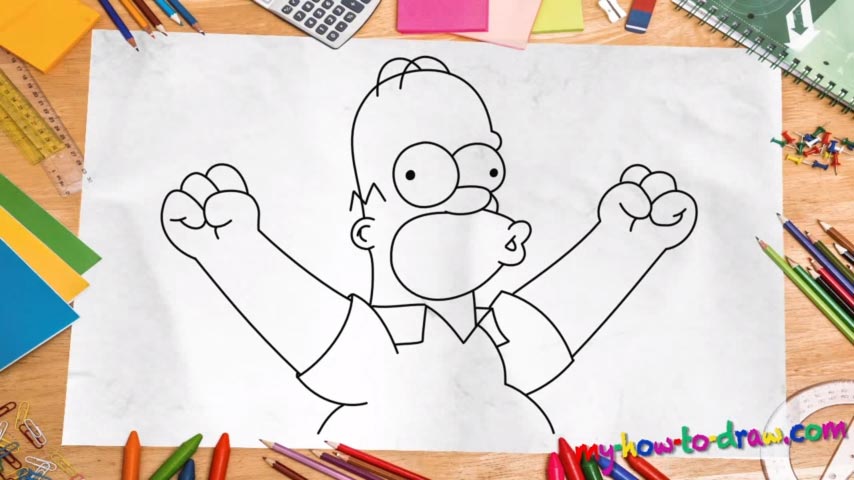
Homer is no ordinary guy, and we should try to put at least a tiny bit of his eccentric character into this drawing to make it look believable. The eyes, as always, come first – they are the intro to our how to draw Homer Simpson tutorial (00 min 27 sec). They are practically the same in size, but the right one is covered by the nose and appears to be smaller.
Next, add the left ear to create some sort of perspective for yourself (00 min 50 sec). That will help you get the proportions of the head right. So, draw a curvy line that starts at the top of the right eye and ends on top of that ear. The mouth is a bit tricky, but it’s imperative to get his trademark expression right (01 min 14 sec). If everything looks good there, move down.
The body is very simple and comes with almost no additional details. So, our focus in this part of the how to draw Homer Simpson tutorial is, of course, the pair of hands (01 min 56 sec). They are almost equal in size and have the same angle, but the fists are a bit different. You can make them identical if it’s hard to get everything right, but I’d strongly recommend staying true to the original drawing.
Before you learn how to draw Homer Simpson, did you know?
This guy is a 100% American. He believes in the exceptionalism of his nation and is confident that the Simpsons are the best family to ever walk the Earth. He first made an appearance on the small screen back in 1987 and has been a wildly popular character ever since.
Together with his spouse, Marge, he’s raising three kids: one boy and two girls. The man is a safety inspector and makes an honest living. And while Homer is a hard-worker, he’s also a classic American citizen: bold, fat, grumpy, and all kinds of stupid. Sill a hero, though!